Sunday, February 26, 2012

Oreo-Marshmallow No Bake Bars (Oreo Rice Krispies Treats)


Guess what? This recipe takes three ingredients: Oreos, marshmallows, and butter.

Somewhere out there in the blogosphere, some enterprising individual decided to make Rice Krispies treats, only with Oreos instead of cereal. Maybe they felt the need to remove the one arguably healthy ingredient in Rice Krispies treats and replace it with something of no redeeming nutritional value. Maybe they just realized Oreos tend to improve most things. Either way, it worked.

The decision to try these was even easier than the recipe itself, as evidenced by the conversation that took place at my house:

Me: I found a recipe for Rice Krispies treats that uses Oreos instead of Rice Krispies.
Husband: Why have we not made these yet?

Oreo Rice Krispies Treats*:
• a bag regular Oreos (15.5 oz)**
• 10 oz bag jumbo marshmallows
• 4 tbsp butter

Crush Oreos using either a food processor or large Ziploc bag and rolling pin. Melt butter and marshmallows in large pan. Once melted, add crumbled Oreos. Stir together and press mixture down into greased 8x8 pan. Let cool for about 10-15 minutes.

I’ve seen this recipe many times now around food blogs or Pinterest, including here and here. I’ve also seen a similar recipe using crumbled chocolate chip cookies as the main ingredient, which I imagine would be worth a try.

*Absolutely no part of this recipe is good for you.

**We used regular Oreos since the recipe called for a 16 oz bag. My husband seems to feel that cooking is a science, and that as scientists, we should devote ourselves to our craft and formulate and test new hypotheses. Basically, he wants to try this again with Double Stuf Oreos.

Sunday, February 19, 2012

Slow Braised Short Ribs with an Ancho Chili Syrah Reduction


As promised, I’m following up yesterday’s dessert post with one about our actual Valentine’s meal. We had planned a nice dinner at home for the evening. It seems we often fall back on cooking filets for our at home dinner dates, so I wanted to try something a little different.

I had seen this amazing looking recipe for braised short ribs with an ancho chili spiced syrah reduction from Tasty Trials. I took a quick glance down the list of ingredients: a bottle of syrah, ancho chili, garlic, cinnamon, cocoa, peppercorns and herbs. How could this not be good?

I’m happy to say that this is one recipe that turns out every bit as good as the recipe looks. The addition of the cocoa powder and cinnamon might seem a bit odd, but the combination smells amazing, and tastes every bit as good. The meat turned out incredibly flavorful and tender.

Be mindful of the fact this cooks for three hours. Since Valentine’s fell on Tuesday this year, we ended up having a late dinner. Even though this does take some time to cook, it’s actually simpler than it sounds.

Slow Braised Short Ribs with an Ancho Chili Syrah Reduction
Found on Tasty Trials

• 1 1/2 – 2 pounds boneless or bone-in beef short ribs
• flour
• salt
• pepper
• oil
• 4 carrots
• 3 celery stalks
• 1 small fennel bulb
• 2 tomatoes
• 1 yellow onion
• 1 head of garlic
• 1 sprig of rosemary
• 6-8 sprigs of thyme
• 20 peppercorns
• 1 bottle of your favorite syrah
• 1/2 cup brown sugar
• 1 tablespoon unsweetened cocoa powder
• 1 1/2 tablespoons ancho chili powder
• 1/2 teaspoon cinnamon
• water
• 1 tablespoon unsalted butter

First, preheat the oven to 350. Roughly chop all of the vegetables. Cut a head of garlic in half. The garlic does not have to be peeled, as the mixture will be strained later.

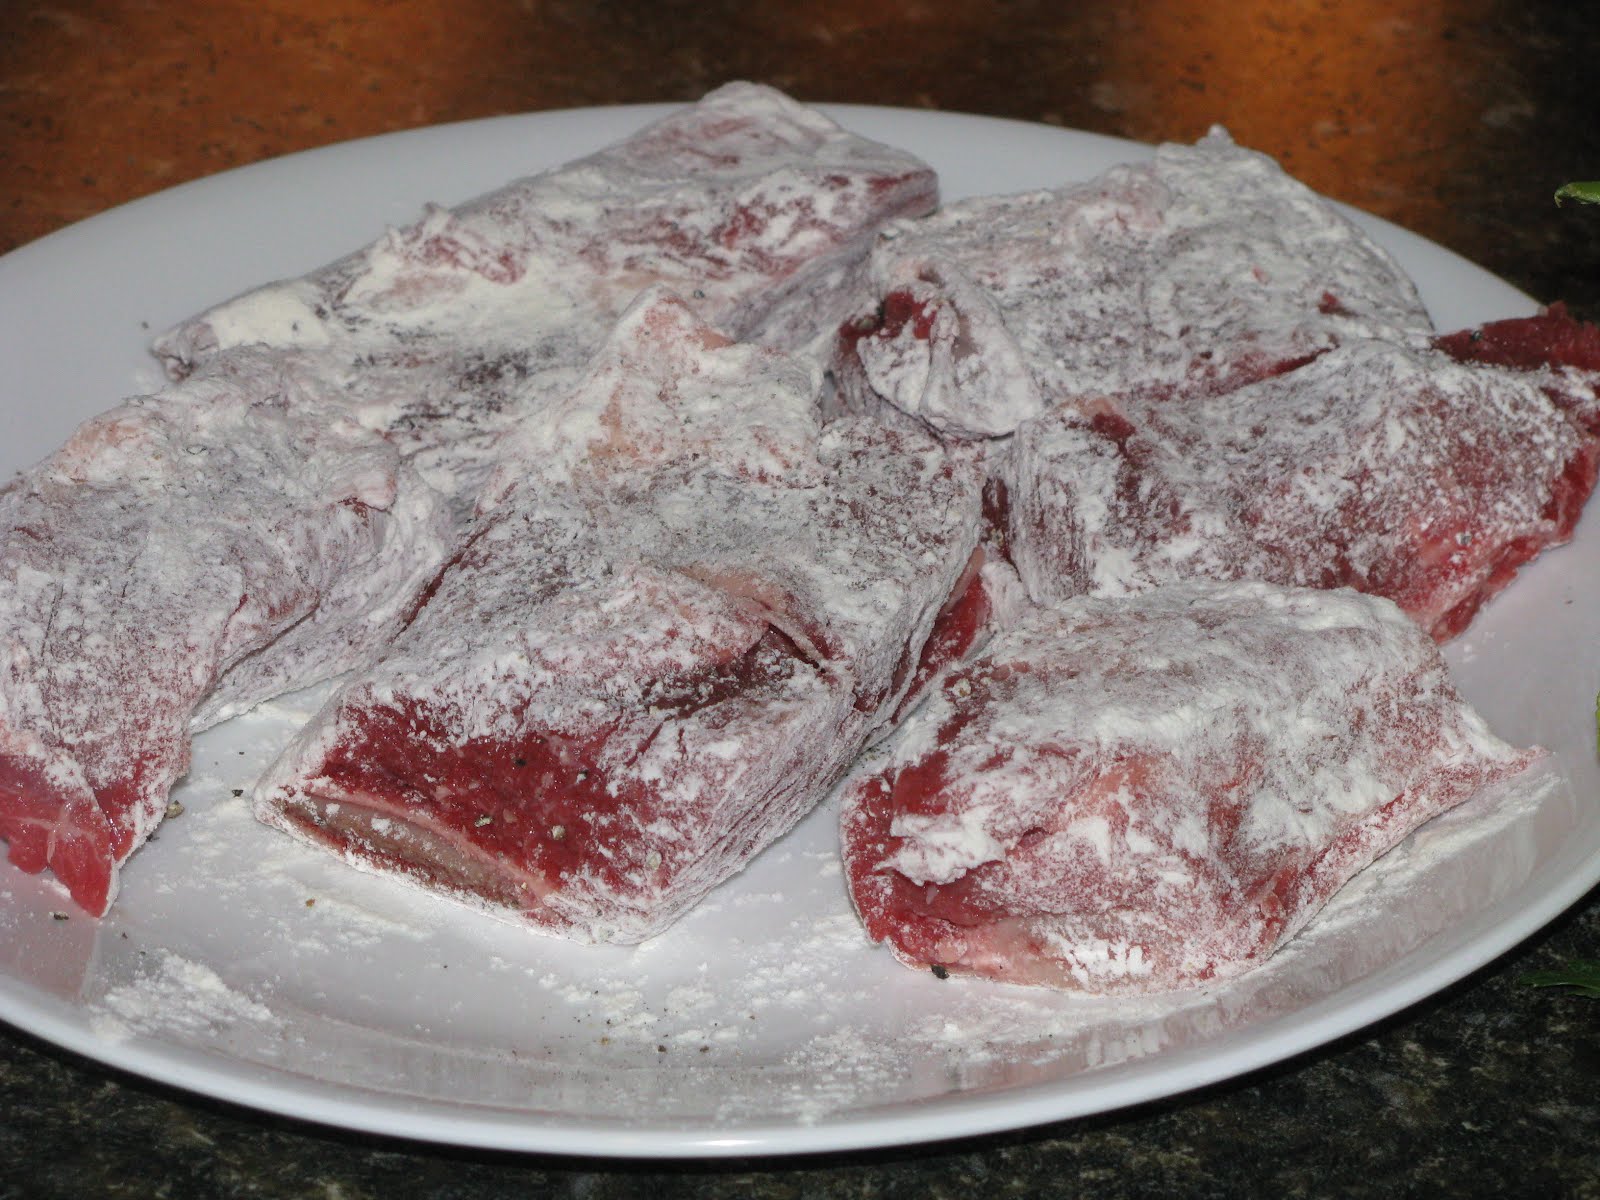
Trim fat off the ribs. Season with salt and pepper and lightly coat in flour.


Heat some oil in a 6 quart dutch oven or pot that can be left in the oven. Sear the ribs to give them a nice caramelized brown color, then remove to a separate plate.


Add the vegetables, herbs, and peppercorns to the pot. Use a small amount of the wine to deglaze the pot, scraping all the browned flavorful bits off the bottom. Add the remaining wine. (I’ve always heard that while you can go slightly cheaper with wine you are using in cooking, it’s still important to buy something you’d actually enjoy drinking. I used a Kendall Jackson syrah.)

Stir in the brown sugar, cocoa, ancho chili powder, and cinnamon. (This is the point where it will start to smell AMAZING.)


Place the ribs back into the pot. If the ribs cannot be covered with the liquid, add a little water. Bring the liquid to a boil, then remove from stove and cover. Place in oven and cook for 3 hours.

Remove the pot after three hours. Remove the ribs and set aside. Run the remaining mixture through a strainer, reserving the liquid. Discard the solids. Place the liquid in a separate pan and simmer until it begins to thicken. Stir in butter. Serve sauce over the short ribs and your favorite mashed potatoes.

I couldn’t tell by the recipe how thick the sauce was really supposed to be. Mine never thickened quite as much as I’d like, but part of that might have been that I had to use a little bit of water when I first cooked the ribs and vegetables.

I served my ribs with caramelized onion mashed potatoes and some brussels sprouts roasted with a mixture of extra virgin olive oil, balsamic vinegar, and honey.


I’ll have to remember this recipe whenever I’m looking for a nice weekend meal that I have time to let cook throughout the afternoon.

Saturday, February 18, 2012

Chocolate Bowls with Dark Chocolate Mousse


I’m just now getting around to posting about our Valentine’s Day feast. I’ll try to get information about our meal posted tomorrow, but for now I’ll focus on dessert. My reason for doing so is that not only is dessert important enough to warrant its own posting, but also because I had fun experimenting with this particular dessert.

I had been looking for a good opportunity to try chocolate bowls, and Valentine’s seemed like as good a reason as any. I had found multiple cooking blogs with posts involving chocolate bowls or cups, which turned out to be very helpful because each one had different tips. One suggested blowing up water balloons (as in using air, not water) because of their sturdiness. Most recommended balloons 5 inches or smaller. I found my water balloons in the party aisle at Wal-Mart for 99 cents. (The awesome tie-dye print was the store's choice, not mine.)This is also the first time I've used water balloons in baking.


The instructions varied on the type of chocolate. I always like to bake with a slightly higher quality chocolate. Since I was planning on filling the bowls with dark chocolate mousse, I decided to use some Ghirardelli semi-sweet chocolate chips. I melted an entire bag of chocolate chips in a double boiler while stirring consistently to retain a smooth texture. Once melted, I scraped the chocolate into a small glass bowl to cool. I wanted to small bowl with slightly higher sides so that my chocolate bowls would be tall enough.

Now we are to the part that made me nervous. I had read warnings that if the balloons are dipped into the chocolate while it is still too hot, the balloons would explode and send chocolate flying all over my kitchen. This didn’t sound like anything I wanted to deal with, so I followed the advice of one blogger that had said to let the chocolate cool and once you thought it was cool enough, let it cool a little more.

While the chocolate cooled, I blew up the balloons. As it turns out, one of my Helpers apparently found the balloons to be quite worrisome, as you can probably tell from her wide-eyed expression and readiness to bolt should any craziness occur.


Another helpful hint I’d found was to thoroughly clean off the surface area where you’ll keep the balloons. They tend to attract any dust or fuzz you couldn’t see beforehand. I doubt you want any of that in the lining of the bowls. Once the balloons were blown up, I lined a baking sheet with parchment paper. Before dipping the balloons, I sprayed the bottom of each with a little cooking spray so I’d have some help with peeling them off the chocolate later.

Finally, I dipped a balloon down into the chocolate until it came far enough up the sides to be tall enough for a bowl.


I set the chocolate covered balloon on the parchment paper to harden. Since this was my first attempt, I used eight balloons even though I only needed two. I recommend this just because not every bowl will turn out. I had some turn out lopsided or missing a patch of chocolate.


I would also recommend putting the pan holding the chocolate balloons into the fridge for a few minutes. I was following a recipe that said to leave the balloons on the counter for 20 minutes to allow the chocolate to set. After 20 minutes, I decided to try to remove my balloon from one of my bowls. I snipped the balloon carefully under the knot. Not only did my balloon deflate, but my chocolate shriveled up along with it. Oops. After that I stuck the remaining balloons in the fridge for another 10 minutes. This let the chocolate set enough to detach the balloon. I used scissors to snip under the knot, and then I gently pulled the deflated balloon away. Some balloons will try to stick. In removing them, I realized that the next biggest risk of chocolate bowls is leaving behind fingerprints, so be mindful of this when tugging the balloons away.


I filled the bowls with dark chocolate mousse from a recipe by Bobby Flay. For decoration, I grated some chocolate sprinkles across the top.