Wednesday, October 17, 2012

Caramel Apple Butter Cupcakes


I love everything about fall, including all the fall-inspired recipes. I had bookmarked these apple butter filled cupcakes a couple months ago. Now that fall has finally graced us with its presence, I have a good excuse to experiment with the recipe.

I even had some caramel apple butter in my cabinet. If you think apple butter is good, then you really need to try caramel apple butter.


I decided to try something new for the cake. I’ve been reading a lot about bakers doctoring up box mixes to make wonderfully fluffy white cakes. This recipe in particular had a ton of comments from people who had tried the recipe and loved it. I’m glad I got the opportunity to try it. The cupcakes give you the fluffiness of a box mix, but with more of a homemade taste.

I was originally going to try this with a box of vanilla cake, but couldn’t find any at my store. Does vanilla cake mix exist, or am I remembering incorrectly? Anyway, I went ahead and used the white cake mix called for in the recipe. According to some of the comments under the recipe, people have had good luck with a lot of different cake mix flavors.


Caramel Apple Butter Cupcakes:
White cake recipe from Recipe Girl

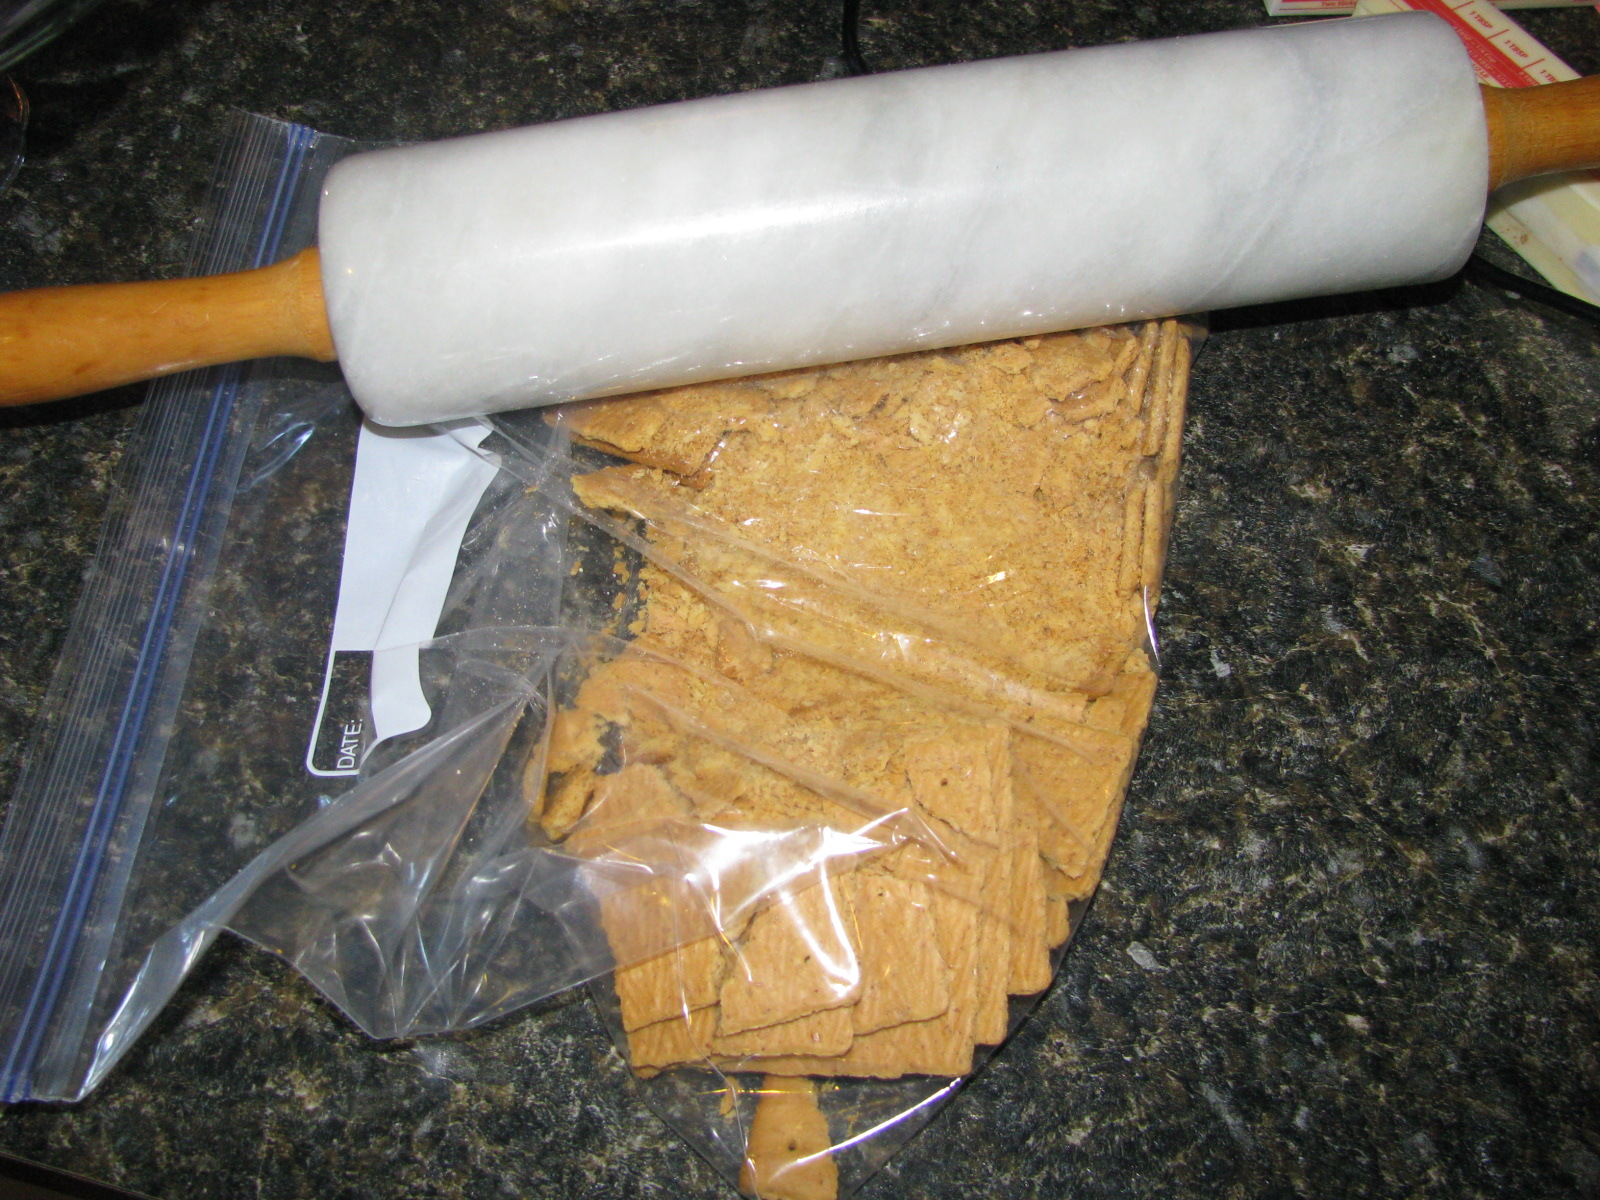
1 (18.25 ounce) box white cake mix
1 cup all-purpose flour
1 cup granulated white sugar
3/4 teaspoon salt
1 1/3 cups water
2 Tablespoons vegetable or canola oil
1 teaspoon vanilla extract
1 cup sour cream
4 large egg whites
12 oz. apple butter

*Recipe says it makes 36 cupcakes, although I got closer to 30.
** Through reading the comments on Recipe Girl’s site, I found out that most companies now only sell 15-16 oz. box mixes. I actually bought two boxes & measured out the extra couple ounces. Some comments said they tried the recipe with one box and it turned out fine. Another commenter claimed to use a heaping cup of flour, a little over a cup of sugar, and 1 tsp. of baking powder to offset the loss of cake mix.

Preheat oven to 325°F. Whisk together cake mix, flour, sugar and salt. Add remaining ingredients and beat with hand mixer (I used my Kitchen Aid) for 2 minutes, or until well blended.

Fill cupcake tins about 1/2 to 2/3 full with batter. Spoon a heaping teaspoon full of apple butter into the center. Spoon enough batter in to cover the apple butter. Some follow the theory that cupcakes should be filled 2/3 full. Others claim 3/4. Either way, just remember to leave room for your apple butter.


Bake about 18 minutes, or until toothpick inserted in center comes out clean. Mine took closer to 20 minutes. Let cool before frosting.

Vanilla Buttercream
2 1/2 sticks unsalted butter, at room temperature
2 1/2 cups powdered sugar
2 tablespoons heavy cream
1 -1.5 tsp. vanilla extract, to taste
Pinch of salt

Mix cream, vanilla and salt together in a small bowl. Using a stand mixer with a paddle attachment, beat the butter until creamy. Slowly add the confectioners' sugar until completely combined. Add the cream mixture and beat for 3 or 4 minutes until fluffy and smooth. (This can also be made with vanilla bean or vanilla bean paste.)


I finished the cupcakes by sprinkling the tops with a little cinnamon and sugar. I’m sure any number of toppings would work: candied pecans, candy pumpkins, candy corn, or even some meringue ghosts for Halloween.

Wednesday, August 22, 2012

S'mores Cake


Let me start by explaining this picture. What you're looking at is rich chocolate cake, layered with toasted marshmallow filling and topped with graham cracker buttercream. It's a perfect version of indoor s'mores.


If you haven’t figured it out by now, I’m completely obsessed with s’mores recipes. This will come as no surprise to the people who follow me on Pinterest. It doesn’t help that Pinterest has provided me with an even bigger opportunity to collect s’mores recipes.

The thing about s’mores recipes is that only about one in every ten really turns out to be any good. I did finally find an awesome s’mores cookie recipe a couple weeks ago. I’ve also experimented with s’mores cakes and cupcakes before, without a lot of success. Most of these used a graham cracker cake, which never seemed to turn out very flavorful. About a week ago on Pinterest, I found a cupcake recipe that used chocolate cake and incorporated the graham crackers with a graham cracker buttercream. I decided to try this approach.

The cupcakes that I got this idea from are located here. I also used their chocolate cake recipe, which turned out excellent. The cupcake recipe used a cream cheese frosting. I’m more a fan of traditional buttercream than cream cheese based frostings, so I used the concept of the graham crackers with a different buttercream recipe. I also changed the marshmallow filling, which I’ll explain in a minute.

I started with the chocolate cakes. I was working with three round 9 inch cake pans. NOTE: You will need to use 1.5 times this recipe to get three cakes. I made the recipe as is and baked two cakes, then made a half batch for my third cake.

Chocolate Cakes
Cake from Your Cup of Cake

1 3/4 cup sugar
1/4 cup brown sugar
1/2 cup vegetable oil
1 cup sour cream
2 teaspoons vanilla extract
2 eggs
2 cups flour
1 cup cocoa
1 1/2 teaspoons baking powder
1 1/2 teaspoons baking soda
1 teaspoon salt
3/4 cup boiling water

Preheat oven to 360 degrees. Grease two 9 inch round cake pans. Mix sugar, brown sugar and oil for about 3 minutes. Add sour cream and vanilla extract and mix well. Add eggs one at a time and mix only until incorporated. In a separate bowl, sift together flour, cocoa, baking powder, baking soda and salt. Add dry ingredients and boiling water to sugar mixture alternating between the two. Pour into pans and bake for approximately 25-30 minutes, or until cake passes the toothpick test.

Note: I had really liked how the marshmallow bits had turned out in the cookies. I made one extra cake with marshmallow bits swirled through the batter, but didn’t like how it turned out. The bits didn’t add much flavor or color.

Once the cakes were cool, I began the marshmallow filling. My base was my go-to recipe for vanilla buttercream, only with vanilla extract instead of vanilla bean paste. Instead of marshmallow crème, which is typical in marshmallow frosting recipes, I decided to try for a real toasted marshmallow taste.


Toasted Marshmallow Buttercream

1 tablespoon heavy cream
1 teaspoon vanilla extract
pinch of salt
1 1/4 sticks unsalted butter, at room temperature
1 1/4 cups confectioners' sugar
15 large marshmallows

Mix cream, vanilla and salt together in a small bowl. Using a stand mixer with a paddle attachment, beat the butter until creamy. Slowly add the confectioners' sugar until completely combined. Add the cream mixture and beat for 3 or 4 minutes until fluffy and smooth.

Put marshmallows on a baking sheet lined with parchment paper. Place marshmallows under oven broiler for approximately two minutes, or until they just start to brown. Watch these carefully, as they will brown quickly.


Let marshmallows cool for a couple minutes, then beat into frosting mixture. (If marshmallows are too hot, they will melt the sugar in the frosting and it will lose its fluff.) NOTE: I would double this recipe next time. I would have liked a thicker marshmallow layer, but the marshmallows were a last minute idea and I didn’t have enough of them.

Spread marshmallow mixture on top of two of the cake rounds and assemble the cake.


See those tiny light brown flecks? Don't worry, those are just pieces of the real toasted marshmallow flavor.


Now it is ready to frost.

I used the same vanilla buttercream recipe for the graham cracker buttercream. First, I took some graham crackers and placed them in a Ziploc bag. I ran a rolling pin over the bag until the crumbs were very fine.


Graham Cracker Buttercream

2 tablespoons heavy cream
1 tsp vanilla extract
pinch of salt
2 1/2 sticks unsalted butter, at room temperature
2 1/2 cups confectioners' sugar
3/4-1 cup graham cracker crumbs

Mix cream, vanilla and salt together in a small bowl. Using a stand mixer with a paddle attachment, beat the butter until creamy. Slowly add the confectioners' sugar until completely combined. Add the cream mixture and beat for 3 or 4 minutes until fluffy and smooth. Add in graham cracker crumbs and beat for another minute to combine.

Once the graham cracker frosting was spread on the cakes, I used some marshmallow bits to decorate the top. I also added some chocolate shavings for a little color.


I will definitely be making this cake again, only with a little more marshmallow next time.


S'mores Cookies


So, I’ve finally found a really good s’mores cookie recipe. It’s taken a lot of searching and failed attempts. For all the s’mores recipes I’ve discovered, it can be unusual to find one that actually works out.

One of the biggest issues with s’mores cookies is the marshmallows. Lots of cookie recipes tell you to throw in some mini marshmallows. The problem is that when these cook, they melt and get super sticky and chewy. Usually they just end up stuck to the pan.

What intrigued me about this recipe is that it used marshmallow bits. Here’s a picture so you know what I’m talking about.


The only place I’ve found these so far is Target, but please let me know if you’ve seen them elsewhere. They work so well in these cookies. Take a look at this:


I really don’t have a lot else to say about this recipe than MAKE THESE COOKIES. You won’t regret it. They may not be the prettiest cookies you’ll ever see, but they taste incredible. Besides, real s’mores are far more messy than pretty.


HERE’S THE LINK FOR THE GOOEY S’MORES COOKIES RECIPE. Since I made these directly from the Kevin & Amanda blog, I’ll just direct you there. (The only difference being that I used regular graham crackers instead of cinnamon, and I used a Ziploc & a rolling pin to make the crumbs instead of a food processor.) I noticed some of comments mention making them as bars, which I guess I’ll have to try next time.


Tuesday, June 26, 2012

Scallops with Balsamic Cherries


I usually get on a cherry kick during the summer. I’d tried cherries with scallops last year, which quickly became one of my favorite ways to prepare scallops. As much as I enjoyed it, I’ve always wondered about ways to improve it.


I’ve talked about how much I enjoy Devo’s Olive Oil Co,’s products before, especially the balsamics. Given my love of cherries, I’d been waiting for a chance to try their black cherry balsamic. The cherry scallops seemed like a great recipe to test it on.

When I was figuring out my recipe, I remembered that Devo’s also has a blood orange olive oil. My mom had used it on our Thanksgiving turkey last year, so I knew how good it was.

The blood orange olive oil and black cherry balsamic turned out to be a fantastic pairing. The balsamic really made the cherry flavors pop, while the olive oil added a slight citrus flavor to the scallops.


Scallops with Balsamic Cherries

7-8 large scallops
Devo’s blood orange olive oil
1 ½ cups cherries, halved and pitted
1 shallot chopped
1 tbsp white wine
2 tbsp Devo’s black cherry balsamic

Pour enough blood orange olive oil in a skillet to barely coat the bottom. Once oil is hot, add scallops. Cook for 3-4 minutes before flipping over. Cook on the remaining side for another 3-4 minutes.

Meanwhile, in a small skillet, add ½ to 1 tbsp blood orange olive oil. Once heated, add shallot and sauté for a couple minutes. Add cherries and sauté for a couple more minutes.


Add white wine and let cook off. Add black cherry balsamic and allow it to cook for a few minutes until the mixture thickens. Plate scallops. Once cherries have softened and the balsamic has gotten to a thicker, syrupy consistency, spoon cherry mixture over scallops.


Disclaimer: I received free sample bottles of blood orange olive oil and black cherry balsamic from Devo’s Olive Oil Co. in exchange for providing a recipe and/or giving a fair and honest review. I received no other compensation over than the use of the sample product. The opinions I’ve expressed are my own, and I was not required to write a positive review.

Saturday, June 23, 2012

Bistro Burgers


If we must suffer through summer, we might as well grill. During the miserable heat of last summer, I contemplated duct taping a couple yard sticks to my grill spatula. My goal was to be able to grill in my backyard without actually leaving the house.

It’s also important to get a really good burger out of this suffering. Fortunately, I managed to find one in the last issue of Food Network Magazine. I added a few of my own touches to their Bistro Burger and came up with something really delicious and, dare I say, worth the agony of spending time outdoors. These burgers are loaded with rosemary asiago cheese, crispy bacon, fried egg, Dijon mustard, and mixed greens tossed in a Dijon (or balsamic) vinaigrette.

Bistro Burgers:
(four servings)
• 4 slices bacon
• 1 ½ lb ground beef
• Sea salt and freshly ground pepper
• 4 hamburger buns
• 1 tablespoons extra-virgin olive oil
• 4 large eggs
• 1 tablespoon dijon mustard, plus more for spreading
• 1 shallot, thinly sliced
• mixed greens
• rosemary & olive oil asiago cheese

Form four (6 oz) burgers. Grill to desired doneness. If desired, spread small amount of butter on buns and toast on grill. While burgers are on grill, cook bacon in skillet, reserving some of the bacon grease. Fry eggs.

Whisk Dijon mustard with EVOO, shallots, and 1-2 tbsp bacon drippings. Add salt & pepper to taste. Toss with mixed greens.


Spread bun with Dijon mustard. Add the burger, asiago cheese, bacon, egg and mixed greens.


We’ve since tried a version of these burgers with the mixed greens tossed in a balsamic vinaigrette. It adds a nice flavor without overdoing the Dijon taste.

We had purchased a french fry cutter awhile ago that we’ve used quite a bit. We bake our fries using different flavored olive oils and spices. The most common way we make them is tossed with a little EVOO, cracked pepper & sea salt, some minced garlic, and some type of Italian herb mix.


For the record, not everyone in my house dislikes summer. Some of us really appreciate the sun. It's just not the human members.


Sunday, May 27, 2012

Gorgonzola Filet Mignon with Red Apple Balsamic Reduction

One of my absolute favorite meals is filet mignon topped with blue cheese or gorgonzola. I’ve stated before that the rules for a perfect steak are not that complicated. In fact, here’s all you need to know: Grill Steak. Place handful of blue cheese crumbles on top. Eat.

I’ve added one more step to this process. I’ve since realized how much a nice balsamic reduction can improve an already fantastic steak. You can imagine how excited I was to get my hands on some red apple balsamic vinegar from Devo Olive Oil Co. While I’ve written before about all the Devo olive oils and vinegars I’ve tried, I still think the red apple balsamic might be my favorite of the bunch. A good steak combined with gorgonzola, balsamic, and a hint of apple flavor is really hard to beat. This steak may seem simple, but the combination of flavors is outstanding.

Gorgonzola Filet Mignon with Red Apple Balsamic Reduction

• Two 6-8 oz filets

• salt & pepper

• 2-3 oz gorgonzola crumbles

1/4 cup Devo red apple balsamic vinegar

Crack some fresh pepper and sea salt over both sides of the raw filets.

Grill steaks to preferred degree of doneness. Immediately sprinkle with gorgonzola crumbles until covered.

Tent with foil to retain heat. Pour ¼ cup of red apple balsamic vinegar in a small sauce pan. Heat over a medium low heat until it starts to bubble. Continue to whisk until the liquid gets thicker.

Drizzle desired amount over gorgonzola steaks.

I decided to go with gorgonzola crumbles this time, although I bet the balsamic reduction would work well with a blue cheese sauce.

Our steaks were accompanied by some grilled corn on the cob with honey-lime butter and a batch of The Pioneer Woman’s crash hot potatoes.

Disclaimer: I received a free sample bottle of red apple balsamic vinegar from Devo Olive Oil Co. in exchange for providing a recipe and/or giving a fair and honest review. I received no compensation other than the use of the sample product. The opinions I’ve expressed are my own, and I was not required to write a positive review.

Monday, May 14, 2012

Watermelon & Mozzarella Salad with Jalapeno Balsamic

Watermelon is one of the very few things I like about summer.* This year I already had a plan for my first watermelon. Back around the holidays, my mom had brought me back some olive oils and vinegars from Devo Olive Oil. The first time I tried their jalapeno white balsamic vinegar, I knew I had to try it with watermelon. I realize this doesn’t seem like the most obvious choice, but I’ve given up on trying to understand how my brain works when it comes to flavor combinations.

Part of this idea may have stemmed from the watermelon, mozzarella, and cucumber salad with balsamic vinegar that I made last summer. I learned then how well watermelon and balsamic vinegar go together, so the idea of combining the sweet and spicy flavors of watermelon and jalapeno balsamic was something I really couldn’t wait to try. The problem was that this thought occurred to me a few months ago, so I’ve been trying to make my jalapeno balsamic last until I could buy a watermelon. This was not an easy task.

I combined watermelon with mozzarella again, but this time cut them into discs. For my first plate, I drizzled the salad with extra virgin olive oil and the jalapeno balsamic. It was delicious, but the color didn’t really pop. I made another plate the next day, only with an improved dressing.

For the dressing, I began by combining extra virgin olive oil and white jalapeno balsamic vinegar. The standard ratio for oil to vinegar is 3:1, but since I wanted plenty of jalapeno taste, I used 2:1 measurements. I added a little cracked pepper and sea salt, a drizzle of honey, and a little bit of lime zest. Once stirred, I drizzled the mixture over the plated watermelon and mozzarella. The lime zest and pepper added just a little color that the salad had been missing.

The jalapeno balsamic vinegar makes a fantastic dressing for this salad. I’ll probably be eating a lot more of this to get me through the summer.

*Although I could list for you plenty of reasons I hate summer, I'll refrain from doing so. Not only would this turn into a huge list, but you'd also probably start to understand why my mother refers (affectionately, of course) to my rants about summer as "obnoxious whining".