Sunday, February 26, 2012
Oreo-Marshmallow No Bake Bars (Oreo Rice Krispies Treats)
Guess what? This recipe takes three ingredients: Oreos, marshmallows, and butter.
Somewhere out there in the blogosphere, some enterprising individual decided to make Rice Krispies treats, only with Oreos instead of cereal. Maybe they felt the need to remove the one arguably healthy ingredient in Rice Krispies treats and replace it with something of no redeeming nutritional value. Maybe they just realized Oreos tend to improve most things. Either way, it worked.
The decision to try these was even easier than the recipe itself, as evidenced by the conversation that took place at my house:
Me: I found a recipe for Rice Krispies treats that uses Oreos instead of Rice Krispies.
Husband: Why have we not made these yet?
Oreo Rice Krispies Treats*:
• a bag regular Oreos (15.5 oz)**
• 10 oz bag jumbo marshmallows
• 4 tbsp butter
Crush Oreos using either a food processor or large Ziploc bag and rolling pin. Melt butter and marshmallows in large pan. Once melted, add crumbled Oreos. Stir together and press mixture down into greased 8x8 pan. Let cool for about 10-15 minutes.
I’ve seen this recipe many times now around food blogs or Pinterest, including here and here. I’ve also seen a similar recipe using crumbled chocolate chip cookies as the main ingredient, which I imagine would be worth a try.
*Absolutely no part of this recipe is good for you.
**We used regular Oreos since the recipe called for a 16 oz bag. My husband seems to feel that cooking is a science, and that as scientists, we should devote ourselves to our craft and formulate and test new hypotheses. Basically, he wants to try this again with Double Stuf Oreos.
Sunday, February 19, 2012
Slow Braised Short Ribs with an Ancho Chili Syrah Reduction
As promised, I’m following up yesterday’s dessert post with one about our actual Valentine’s meal. We had planned a nice dinner at home for the evening. It seems we often fall back on cooking filets for our at home dinner dates, so I wanted to try something a little different.
I had seen this amazing looking recipe for braised short ribs with an ancho chili spiced syrah reduction from Tasty Trials. I took a quick glance down the list of ingredients: a bottle of syrah, ancho chili, garlic, cinnamon, cocoa, peppercorns and herbs. How could this not be good?
I’m happy to say that this is one recipe that turns out every bit as good as the recipe looks. The addition of the cocoa powder and cinnamon might seem a bit odd, but the combination smells amazing, and tastes every bit as good. The meat turned out incredibly flavorful and tender.
Be mindful of the fact this cooks for three hours. Since Valentine’s fell on Tuesday this year, we ended up having a late dinner. Even though this does take some time to cook, it’s actually simpler than it sounds.
Slow Braised Short Ribs with an Ancho Chili Syrah Reduction
Found on Tasty Trials
• 1 1/2 – 2 pounds boneless or bone-in beef short ribs
• flour
• salt
• pepper
• oil
• 4 carrots
• 3 celery stalks
• 1 small fennel bulb
• 2 tomatoes
• 1 yellow onion
• 1 head of garlic
• 1 sprig of rosemary
• 6-8 sprigs of thyme
• 20 peppercorns
• 1 bottle of your favorite syrah
• 1/2 cup brown sugar
• 1 tablespoon unsweetened cocoa powder
• 1 1/2 tablespoons ancho chili powder
• 1/2 teaspoon cinnamon
• water
• 1 tablespoon unsalted butter
First, preheat the oven to 350. Roughly chop all of the vegetables. Cut a head of garlic in half. The garlic does not have to be peeled, as the mixture will be strained later.
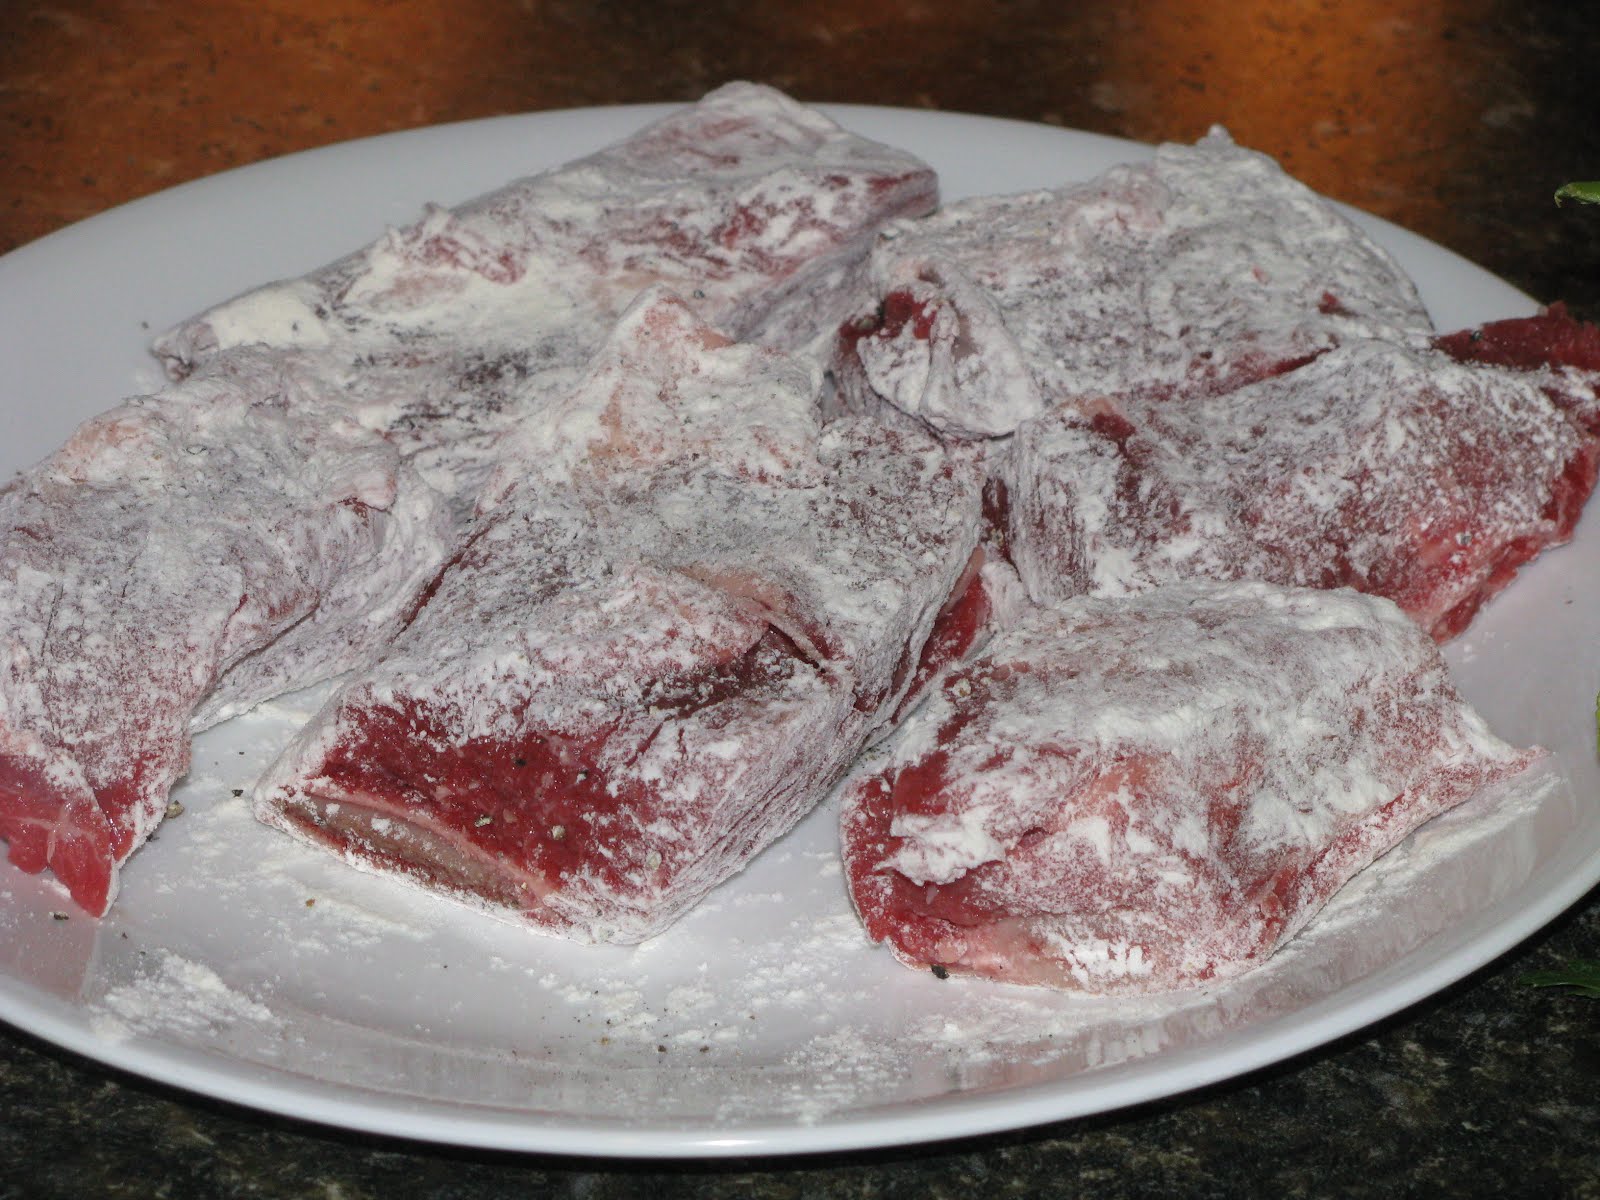
Trim fat off the ribs. Season with salt and pepper and lightly coat in flour.
Heat some oil in a 6 quart dutch oven or pot that can be left in the oven. Sear the ribs to give them a nice caramelized brown color, then remove to a separate plate.
Add the vegetables, herbs, and peppercorns to the pot. Use a small amount of the wine to deglaze the pot, scraping all the browned flavorful bits off the bottom. Add the remaining wine. (I’ve always heard that while you can go slightly cheaper with wine you are using in cooking, it’s still important to buy something you’d actually enjoy drinking. I used a Kendall Jackson syrah.)
Stir in the brown sugar, cocoa, ancho chili powder, and cinnamon. (This is the point where it will start to smell AMAZING.)
Place the ribs back into the pot. If the ribs cannot be covered with the liquid, add a little water. Bring the liquid to a boil, then remove from stove and cover. Place in oven and cook for 3 hours.
Remove the pot after three hours. Remove the ribs and set aside. Run the remaining mixture through a strainer, reserving the liquid. Discard the solids. Place the liquid in a separate pan and simmer until it begins to thicken. Stir in butter. Serve sauce over the short ribs and your favorite mashed potatoes.
I couldn’t tell by the recipe how thick the sauce was really supposed to be. Mine never thickened quite as much as I’d like, but part of that might have been that I had to use a little bit of water when I first cooked the ribs and vegetables.
I served my ribs with caramelized onion mashed potatoes and some brussels sprouts roasted with a mixture of extra virgin olive oil, balsamic vinegar, and honey.
I’ll have to remember this recipe whenever I’m looking for a nice weekend meal that I have time to let cook throughout the afternoon.
Saturday, February 18, 2012
Chocolate Bowls with Dark Chocolate Mousse
I’m just now getting around to posting about our Valentine’s Day feast. I’ll try to get information about our meal posted tomorrow, but for now I’ll focus on dessert. My reason for doing so is that not only is dessert important enough to warrant its own posting, but also because I had fun experimenting with this particular dessert.
I had been looking for a good opportunity to try chocolate bowls, and Valentine’s seemed like as good a reason as any. I had found multiple cooking blogs with posts involving chocolate bowls or cups, which turned out to be very helpful because each one had different tips. One suggested blowing up water balloons (as in using air, not water) because of their sturdiness. Most recommended balloons 5 inches or smaller. I found my water balloons in the party aisle at Wal-Mart for 99 cents. (The awesome tie-dye print was the store's choice, not mine.)This is also the first time I've used water balloons in baking.
The instructions varied on the type of chocolate. I always like to bake with a slightly higher quality chocolate. Since I was planning on filling the bowls with dark chocolate mousse, I decided to use some Ghirardelli semi-sweet chocolate chips. I melted an entire bag of chocolate chips in a double boiler while stirring consistently to retain a smooth texture. Once melted, I scraped the chocolate into a small glass bowl to cool. I wanted to small bowl with slightly higher sides so that my chocolate bowls would be tall enough.
Now we are to the part that made me nervous. I had read warnings that if the balloons are dipped into the chocolate while it is still too hot, the balloons would explode and send chocolate flying all over my kitchen. This didn’t sound like anything I wanted to deal with, so I followed the advice of one blogger that had said to let the chocolate cool and once you thought it was cool enough, let it cool a little more.
While the chocolate cooled, I blew up the balloons. As it turns out, one of my Helpers apparently found the balloons to be quite worrisome, as you can probably tell from her wide-eyed expression and readiness to bolt should any craziness occur.
Another helpful hint I’d found was to thoroughly clean off the surface area where you’ll keep the balloons. They tend to attract any dust or fuzz you couldn’t see beforehand. I doubt you want any of that in the lining of the bowls. Once the balloons were blown up, I lined a baking sheet with parchment paper. Before dipping the balloons, I sprayed the bottom of each with a little cooking spray so I’d have some help with peeling them off the chocolate later.
Finally, I dipped a balloon down into the chocolate until it came far enough up the sides to be tall enough for a bowl.
I set the chocolate covered balloon on the parchment paper to harden. Since this was my first attempt, I used eight balloons even though I only needed two. I recommend this just because not every bowl will turn out. I had some turn out lopsided or missing a patch of chocolate.
I would also recommend putting the pan holding the chocolate balloons into the fridge for a few minutes. I was following a recipe that said to leave the balloons on the counter for 20 minutes to allow the chocolate to set. After 20 minutes, I decided to try to remove my balloon from one of my bowls. I snipped the balloon carefully under the knot. Not only did my balloon deflate, but my chocolate shriveled up along with it. Oops. After that I stuck the remaining balloons in the fridge for another 10 minutes. This let the chocolate set enough to detach the balloon. I used scissors to snip under the knot, and then I gently pulled the deflated balloon away. Some balloons will try to stick. In removing them, I realized that the next biggest risk of chocolate bowls is leaving behind fingerprints, so be mindful of this when tugging the balloons away.
I filled the bowls with dark chocolate mousse from a recipe by Bobby Flay. For decoration, I grated some chocolate sprinkles across the top.
Saturday, January 28, 2012
Barbacoa Pork Tacos with Honey-Lime Slaw
I’ve realized that I really need to get something written if I want to post at all in January. This blogging procrastination is not a good way to start off a new year. I’ve haven’t been doing as much cooking this month and when I have, it hasn’t been exciting enough to go through the process of taking picture and writing about it.
I think our house has been struck by a post-holiday letdown. (I won’t admit how long it took me to actually take down my Christmas tree.) I will tell you that this picture accurately portrays the motivation level at our house.
Yep, it’s pretty non-existent.
We did make it out of town to visit my parents this month, which is where I picked up the recipe I’m writing about today. My parents had fixed fish tacos with honey-lime slaw and chipotle sour cream. I decided to try it out with a different kind of meat.
I had bookmarked Skinny Taste’s sweet barbacoa pork recipe a couple months ago. My version might not be as “skinny” since I used regular Coke instead of Coke Zero.
For the barbacoa pork, you begin by marinating a 2.5 lb pork loin roast in a mixture of 6 oz of Coke, ¼ cup of brown sugar, and a dash of garlic powder, salt, and pepper for a few hours. Once the meat is removed from the fridge, add ¼ cup water. The original recipe says to leave this in the crockpot on high for 3-4 hours. I was wanting to leave mine overnight, so I left it longer on low.
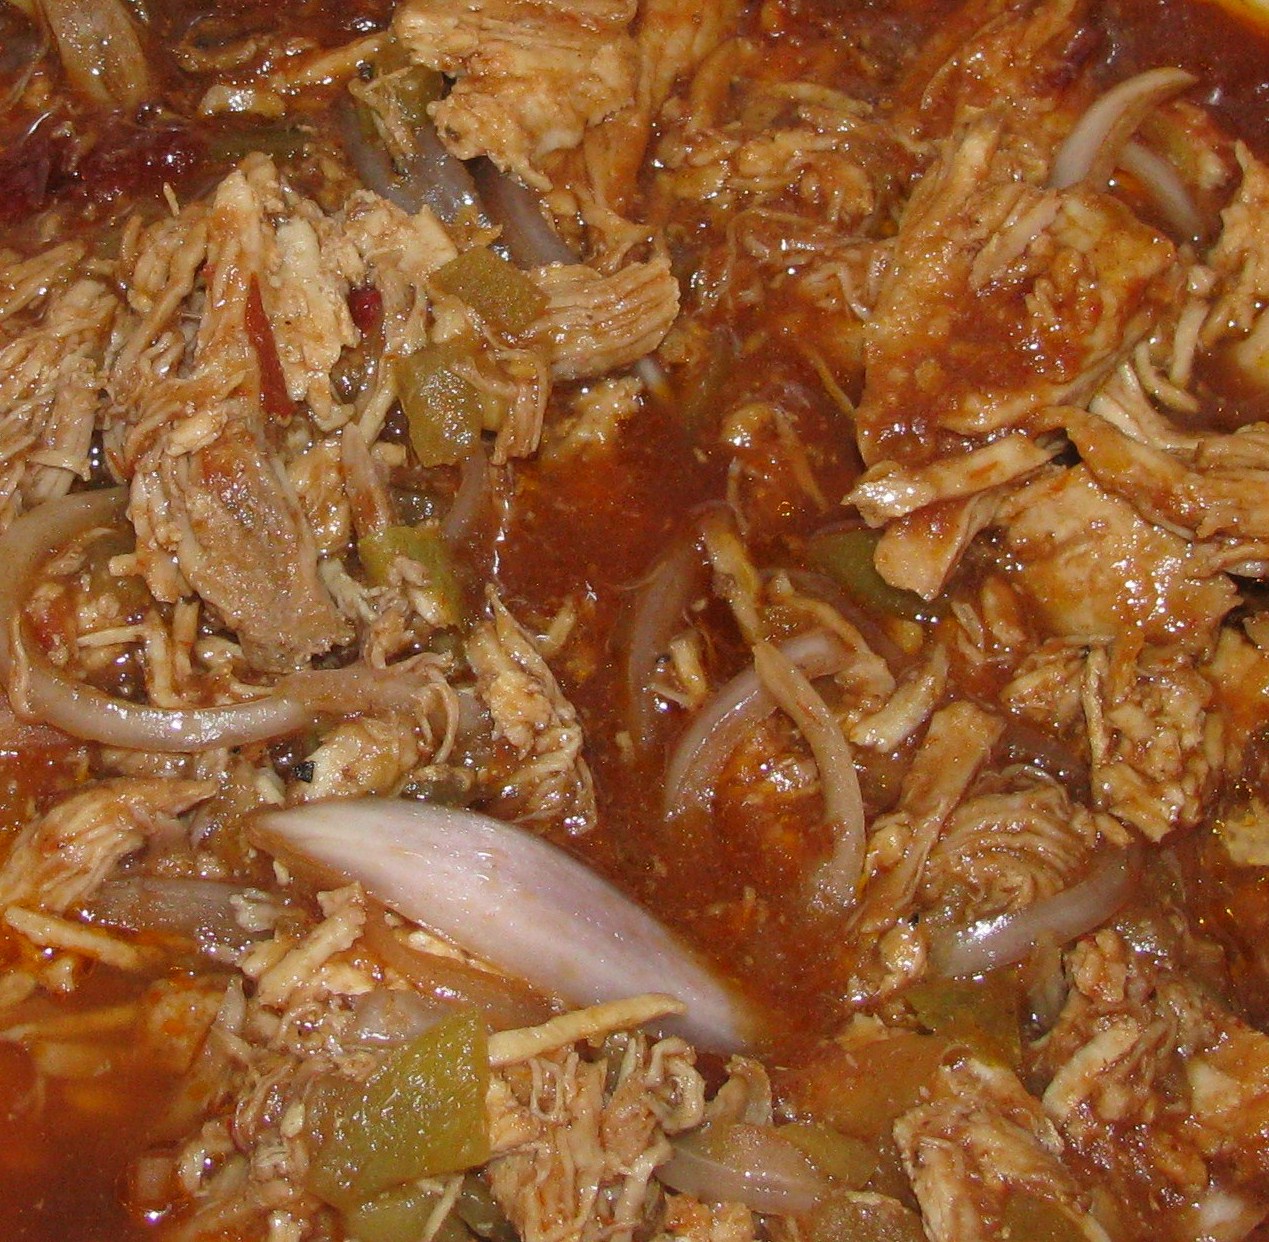
Next, remove the pork from the crockpot and discard the liquid. Using a couple of forks, shred the pork.
At this point, the smell of pork was wafting through the kitchen and caught the attention of one of my previously unmotivated Helpers, who began her usual reconnaissance misson from one of the bar stools. I'm guessing my other Helper was probably busy covering up the living room's heating vent.
Once all the pork is shredded, place it back in the crockpot. Cover the pork with the following mixture:
• 8 oz Coke
• 6 oz can sliced green chilies
• 8 oz tomato sauce
• 1 chipotle chili in adobo sauce (chopped)
• 1/8 tsp garlic powder
• 1/8 tsp cumin
• 1/8 tsp chipotle chili powder
• salt and pepper
• 1/3 cup brown sugar
Combine with the shredded pork and cook on high for 1 ½ hours more.
I also added some sliced red onion and a couple extra chipotles. I thought 3 chipotles and a teaspoon of the adobo sauce was a good amount of heat to balance the sweetness. Then again, my husband has made me try so many hot sauces with pictures of skulls consumed by flames or words like “muerte” or “fire” on the bottle that I may not be the best judge anymore.
I made the slaw about an hour before the meat was done so that the flavors would have a chance to combine. To make the slaw, first thinly slice half a cabbage lengthwise into strips.
In a small bowl, mix together 3 tablespoons honey, 3 tablespoons lime juice, and some chopped jalapeno. Whisk that together and pour it over the top of the cabbage, tossing the cabbage and dressing before serving.
For the chipotle sour cream, combine one chopped chipotle with 4 oz sour cream.
Finally, place the barbacoa pork, slaw, sour cream, and any other desired taco fixings into your choice of tortilla or taco shell. We had some shredded cheese, salsa, and guacamole on the table as extras.
Thursday, December 29, 2011
French Toast Cupcakes with Maple Frosting & Candied Bacon Sprinkles
I should have called this post “An Excuse to Eat Cupcakes for Breakfast,” because that was basically my goal. I’ve long believed that it is perfectly acceptable to eat cupcakes for breakfast, although I realize that health experts would probably disagree.
These cupcakes start with a french toast cupcake base, which is then topped with maple flavored buttercream frosting. Finally, the entire concoction is sprinkled with bacon crumbles.
Other than presenting cupcakes as acceptable breakfast food, this recipe also deserves credit for allowing bacon to be put on cupcakes. I didn’t stop at just bacon, either. I decided what this cupcake recipe really needed was candied bacon. Have you ever had candied bacon? If you can answer this question in the negative, you should rectify that situation immediately.
Candied bacon is easy in that all it involves is baking brown sugar on top of bacon. Bacon and brown sugar are basically their own food groups. (Disclaimer: Again, there’s a slight chance this view is not endorsed by most health experts.) This first time I encountered candied bacon was in this recipe for candied bacon ice cream, where the blogger actually went through a variety of sweet substances to see which one was the best for candied bacon. I call that dedication to one’s craft.
I took about 9 slices of bacon and spread them on a broiler pan. I figured this would give me an even number to crumble, plus an additional one to try myself. (Hey, quality control is important!) It turned out that I had a couple pieces left after sprinkling the cupcakes, but that problem was easily taken care of. I sprinkled light brown sugar over the bacon and used a spoon to smooth it out.
I then baked the slices according to the instructions on the bacon package.
See all that gooey brown sugar? That, my friends, is how bacon should be eaten.
Wait, we were talking about cupcakes, right? I found my recipe for the cupcakes and frosting here.
French Toast Cupcakes
• 3/4 cup butter, softened
• 1 cup sugar
• 1 1/2 cups cake flour, sifted
• 1 1/2 teaspoons baking powder
• 1/4 teaspoon salt
• 1/2 cup milk, at room temperature
• 1 teaspoon nutmeg
• 1 teaspoon cinnamon
• 3 eggs
Preheat oven to 375 degrees. Cream together butter and sugar. In another bowl, mix together the cake flour, baking powder, salt, nutmeg and cinnamon. Add eggs to creamed butter, one at a time until incorporated. Alternate adding milk and flour mixture until combined. Divide batter into cupcake tins and bake for approximately 25 minutes.
Maple Buttercream Frosting
• 2 sticks butter, softened
• 2 3/4 cups powdered sugar
• 2 teaspoons heavy cream, at room temperature
• 1 teaspoon maple extract
Using a stand mixer, beat ingredients until light and fluffy.
After cupcakes have cooled, pipe buttercream onto cupcakes. Crumble bacon and sprinkle with candied bacon.
While I thought the maple frosting was delicious, I wasn’t as excited about the cupcake base. I have a feeling that a little less nutmeg and the addition of some vanilla extract probably would have helped things. All in all, this makes a great recipe if you have to take something to a breakfast or brunch.
Sunday, December 18, 2011
Seared Scallops with a Red Apple Balsamic-Apple Cider Glaze
I’ve had some trouble motivating myself to cook lately. Maybe it’s a post-Thanksgiving burnout. With Christmas a week away, I supposed I’d better find a way to change that.
When I have been cooking this month, I’ve been using it as a chance to experiment with some Devo olive oils & balsamic vinegars that my mom picked up for me in Branson. She got me a nice collection, consisting of red apple balsamic, white truffle oil, champagne balsamic, chipotle olive oil, jalapeno white balsamic, and harissa olive oil. I’ve used the white truffle in Devo’s recipe for asiago & white truffle mashed potatoes. I’ve also been depleting the red apple balsamic by making simple vinaigrette with extra virgin olive oil, minced garlic, and salt & pepper. This pairs wonderfully with a salad of mixed greens and crumbled gorgonzola.
I had a recipe bookmarked for scallops in an apple cider-balsamic glaze. This seemed like the perfect experiment for my red apple balsamic, especially since I have an excess of apple cider from Thanksgiving. When you are talking about seared scallops on a bed of crisp bacon, sautéed mushrooms and baby spinach, topped with a sauce of red apple balsamic, apple cider & honey, I can think of absolutely no logical reason not to try it.
I suppose you can attribute this to laziness, but I’m not going to retype the recipe here. Instead I will direct you to She Cooks, He Cleans, where I found it in the first place. This is one that I did not alter (other than using my red apple balsamic instead of regular & not having enough baby spinach), and the blogger does a great job of writing up the instructions.
This makes a fantastic scallop dish. If I tried it again, I would consider adding some sautéed chopped apples. I’ve been intrigued by the combo of scallops and fruit ever since I tried the delicious scallops with cherries recipe from a few months back.
Sunday, November 20, 2011
Jalapeno Kettle Chip Crusted Chicken
The recipe I tried today was made for my husband. When I saw the recipe for jalapeno kettle chip crusted chicken, I knew he’d love it. I, however, was skeptical.
This will also be known as the recipe where I try to overcome just a little of my food snobbery. Like myself, I would consider my husband to be a foodie. He loves trying new recipes and enjoys quality meals. The difference between us is that I tend to venture straight past foodie into full blown food snob, whereas he is not near as picky and is willing to eat things I wouldn’t even consider real food. For instance, we have a difference of opinion over the frozen corn dogs he keeps in the freezer. While he claims that baking them instead of microwaving them improves the quality, I suggest that by eating a corndog, you’ve pretty much given up on the idea of any quality. (Yes, I am shuddering a little at admitting to you that there is a box of corndogs in my freezer. I would like to state for the record that I never eat them.) In my opinion, the type of foods that can be commonly found at a county fair or a convenience store should be avoided at all costs.
In my defense, you have to understand that I was raised by people who knew how to really cook. I was probably more spoiled on home cooked food than some people. I had no clue that instant mashed potatoes existed until I was probably about twelve. (To this day, I am still not sure why they exist.) My younger sister came home from daycare one day claiming her lunch was “a sandwich with mayo and little round things like meat.” We found out later she was referring to bologna. So, while I am responsible for turning myself into a food snob, I also blame my parents. (This claim works not only as an explanation, but also a test of whether my mother reads my blog.)
All of this is a long set up to the recipe I planned to make today, which involves breading chicken in jalapeno kettle chips. While my food snobbery makes me typically consider a dish made with potato chips to be a pretty lowbrow form of cooking, I decided this didn’t look too bad. The fact that my husband’s eyes lit up upon seeing the recipe further reassured me that I should go ahead and try this.
Jalapeno Kettle Chip Crusted Chicken
Adapted from My Life as a Mrs.
For the Chicken:
chicken tenderloins (approx 1.5 lbs)
1 bag Jalapeno Kettle Chips, crushed
1 cup low fat buttermilk
1 teaspoon salt
dash cayenne
Preheat oven to 375 degrees. Place a cooling rack in a large pan or baking sheet and spray with non-stick cooking spray. Whisk together the buttermilk, salt and cayenne. Crush kettle chips and spread out on a large plate. Dip both sides of the chicken in buttermilk, then coat both sides in the crushed chips. Bake for 25-30 minutes, until cooked through. Serve with dipping sauce.
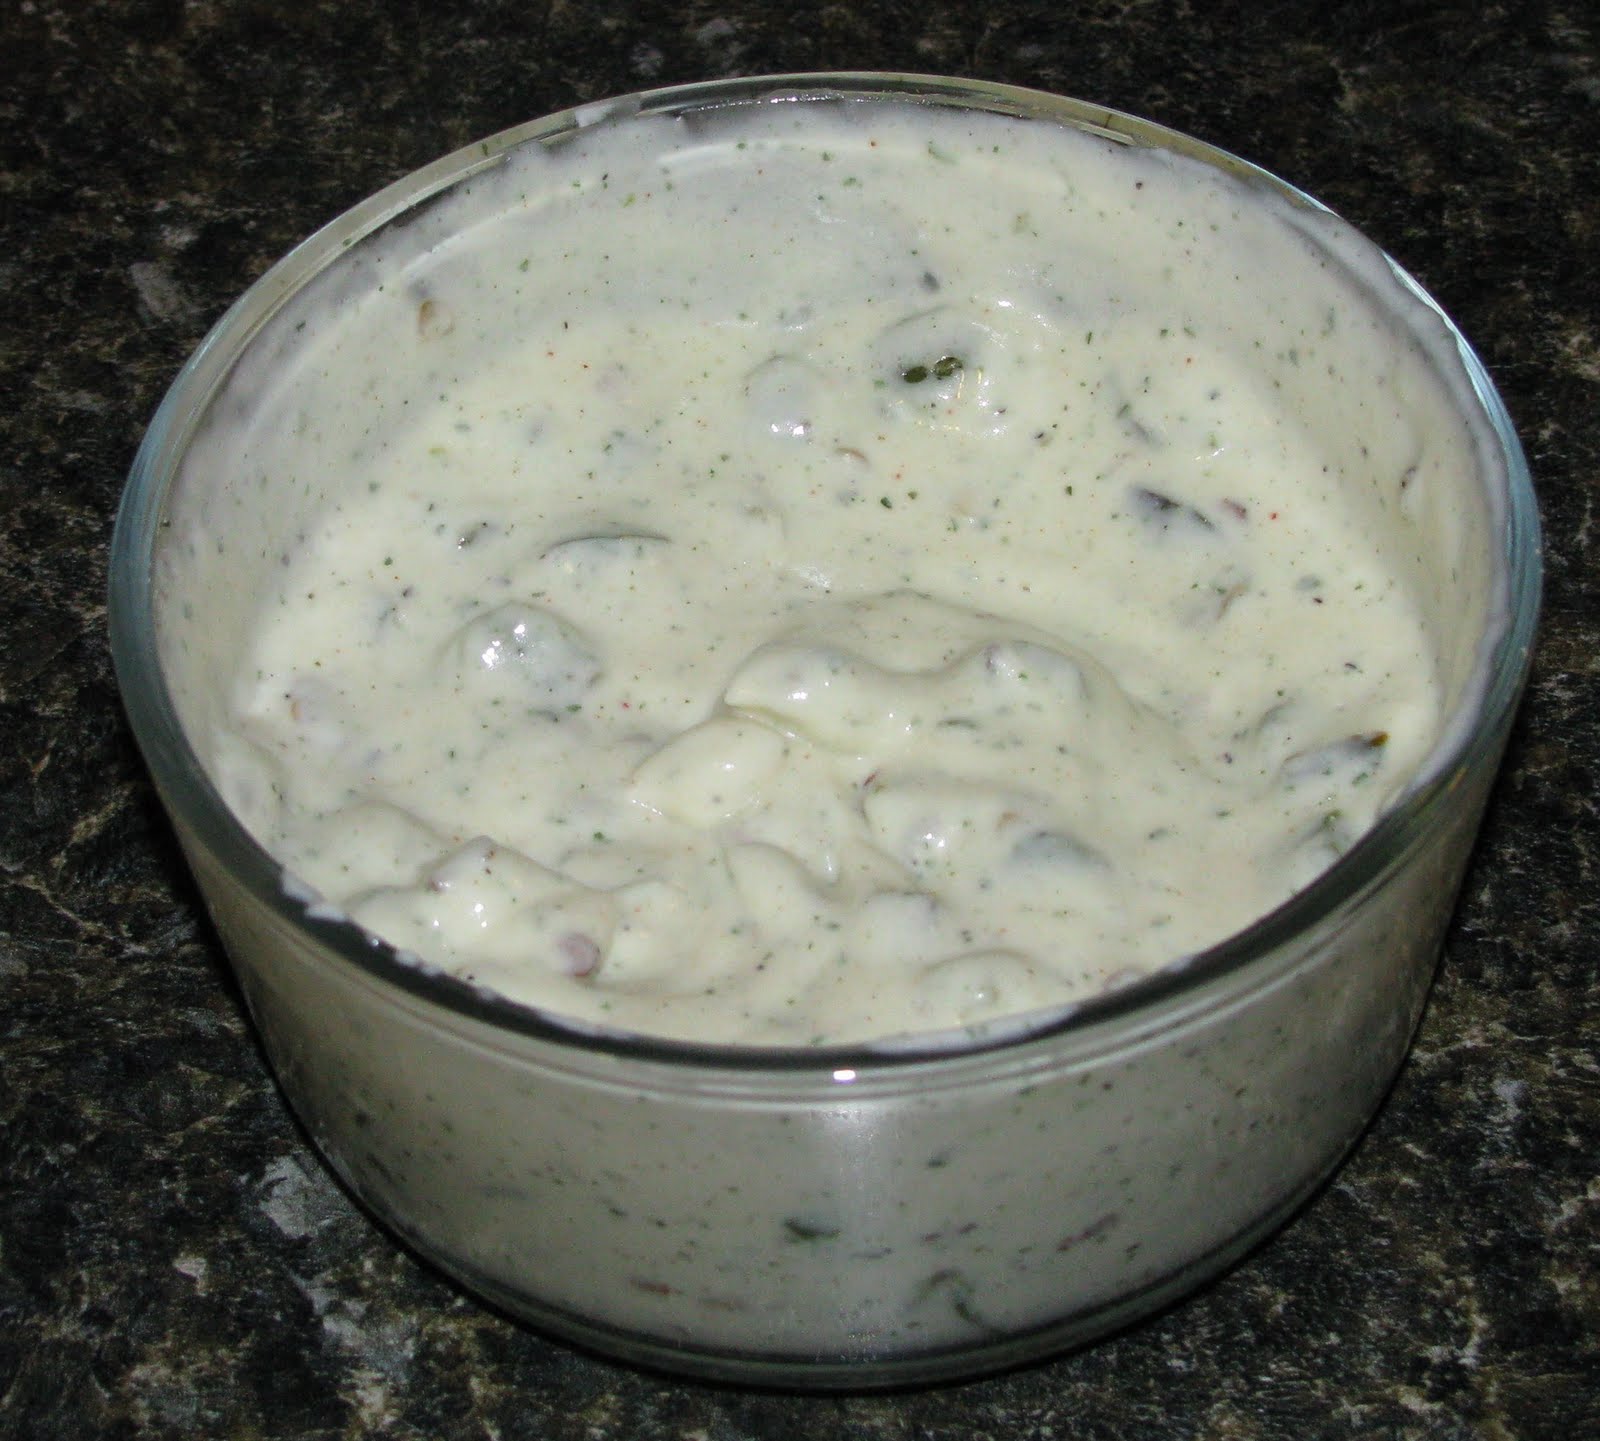
Jalapeno Ranch Dipping Sauce:
1/4 cup mayo
1/4 cup low fat sour cream
1/4 cup (plus 2 tablespoons) low fat buttermilk
1 tablespoon Hidden Valley Ranch Dressing (the powder)
1/2 teaspoon salt
1/2 teaspoon garlic powder
dash of cayenne
1-2 jalapenos, diced and sautéed
Dice jalapenos. Remove seeds if you prefer a milder flavor. Heat 1-2 teaspoons of olive oil in a skillet and sauté the jalapenos until soft. While jalapenos are sautéing, mix the other ingredients in a small bowl. Add jalapenos and mix.
I have to admit that these turned out surprisingly well for such a simple recipe. My husband loved them and kept remarking on how good they were. While I’m not a huge fan of jalapeno chips, I could see these being good with BBQ kettle chips. We might have to try that next time.
Note: Although we used Kettle brand jalapeno chips on most of the chicken, we tried a couple of the pieces with some Krunchers brand jalapeno kettle chips that my husband had been keeping around for snacking. Although he declared that the chicken with the Krunchers tasted very good, that brand left a slight green tint to the chicken. The Kettle brand did not, so I would advise using that brand if you plan to make these.
Subscribe to:
Posts (Atom)