Showing posts with label Quick. Show all posts

Sunday, May 27, 2012

Gorgonzola Filet Mignon with Red Apple Balsamic Reduction

One of my absolute favorite meals is filet mignon topped with blue cheese or gorgonzola. I’ve stated before that the rules for a perfect steak are not that complicated. In fact, here’s all you need to know: Grill Steak. Place handful of blue cheese crumbles on top. Eat.

I’ve added one more step to this process. I’ve since realized how much a nice balsamic reduction can improve an already fantastic steak. You can imagine how excited I was to get my hands on some red apple balsamic vinegar from Devo Olive Oil Co. While I’ve written before about all the Devo olive oils and vinegars I’ve tried, I still think the red apple balsamic might be my favorite of the bunch. A good steak combined with gorgonzola, balsamic, and a hint of apple flavor is really hard to beat. This steak may seem simple, but the combination of flavors is outstanding.

Gorgonzola Filet Mignon with Red Apple Balsamic Reduction

• Two 6-8 oz filets

• salt & pepper

• 2-3 oz gorgonzola crumbles

• 1/4 cup Devo red apple balsamic vinegar

Crack some fresh pepper and sea salt over both sides of the raw filets.

Grill steaks to preferred degree of doneness. Immediately sprinkle with gorgonzola crumbles until covered.

Tent with foil to retain heat. Pour ¼ cup of red apple balsamic vinegar in a small sauce pan. Heat over a medium low heat until it starts to bubble. Continue to whisk until the liquid gets thicker.

Drizzle desired amount over gorgonzola steaks.

I decided to go with gorgonzola crumbles this time, although I bet the balsamic reduction would work well with a blue cheese sauce.

Our steaks were accompanied by some grilled corn on the cob with honey-lime butter and a batch of The Pioneer Woman’s crash hot potatoes.

Disclaimer: I received a free sample bottle of red apple balsamic vinegar from Devo Olive Oil Co. in exchange for providing a recipe and/or giving a fair and honest review. I received no compensation other than the use of the sample product. The opinions I’ve expressed are my own, and I was not required to write a positive review.

Sunday, February 26, 2012

Oreo-Marshmallow No Bake Bars (Oreo Rice Krispies Treats)


Guess what? This recipe takes three ingredients: Oreos, marshmallows, and butter.

Somewhere out there in the blogosphere, some enterprising individual decided to make Rice Krispies treats, only with Oreos instead of cereal. Maybe they felt the need to remove the one arguably healthy ingredient in Rice Krispies treats and replace it with something of no redeeming nutritional value. Maybe they just realized Oreos tend to improve most things. Either way, it worked.

The decision to try these was even easier than the recipe itself, as evidenced by the conversation that took place at my house:

Me: I found a recipe for Rice Krispies treats that uses Oreos instead of Rice Krispies.
Husband: Why have we not made these yet?

Oreo Rice Krispies Treats*:
• a bag regular Oreos (15.5 oz)**
• 10 oz bag jumbo marshmallows
• 4 tbsp butter

Crush Oreos using either a food processor or large Ziploc bag and rolling pin. Melt butter and marshmallows in large pan. Once melted, add crumbled Oreos. Stir together and press mixture down into greased 8x8 pan. Let cool for about 10-15 minutes.

I’ve seen this recipe many times now around food blogs or Pinterest, including here and here. I’ve also seen a similar recipe using crumbled chocolate chip cookies as the main ingredient, which I imagine would be worth a try.

*Absolutely no part of this recipe is good for you.

**We used regular Oreos since the recipe called for a 16 oz bag. My husband seems to feel that cooking is a science, and that as scientists, we should devote ourselves to our craft and formulate and test new hypotheses. Basically, he wants to try this again with Double Stuf Oreos.

Sunday, November 20, 2011

Jalapeno Kettle Chip Crusted Chicken


The recipe I tried today was made for my husband. When I saw the recipe for jalapeno kettle chip crusted chicken, I knew he’d love it. I, however, was skeptical.

This will also be known as the recipe where I try to overcome just a little of my food snobbery. Like myself, I would consider my husband to be a foodie. He loves trying new recipes and enjoys quality meals. The difference between us is that I tend to venture straight past foodie into full blown food snob, whereas he is not near as picky and is willing to eat things I wouldn’t even consider real food. For instance, we have a difference of opinion over the frozen corn dogs he keeps in the freezer. While he claims that baking them instead of microwaving them improves the quality, I suggest that by eating a corndog, you’ve pretty much given up on the idea of any quality. (Yes, I am shuddering a little at admitting to you that there is a box of corndogs in my freezer. I would like to state for the record that I never eat them.) In my opinion, the type of foods that can be commonly found at a county fair or a convenience store should be avoided at all costs.

In my defense, you have to understand that I was raised by people who knew how to really cook. I was probably more spoiled on home cooked food than some people. I had no clue that instant mashed potatoes existed until I was probably about twelve. (To this day, I am still not sure why they exist.) My younger sister came home from daycare one day claiming her lunch was “a sandwich with mayo and little round things like meat.” We found out later she was referring to bologna. So, while I am responsible for turning myself into a food snob, I also blame my parents. (This claim works not only as an explanation, but also a test of whether my mother reads my blog.)

All of this is a long set up to the recipe I planned to make today, which involves breading chicken in jalapeno kettle chips. While my food snobbery makes me typically consider a dish made with potato chips to be a pretty lowbrow form of cooking, I decided this didn’t look too bad. The fact that my husband’s eyes lit up upon seeing the recipe further reassured me that I should go ahead and try this.

Jalapeno Kettle Chip Crusted Chicken
Adapted from My Life as a Mrs.

For the Chicken:
chicken tenderloins (approx 1.5 lbs)
1 bag Jalapeno Kettle Chips, crushed
1 cup low fat buttermilk
1 teaspoon salt
dash cayenne

Preheat oven to 375 degrees. Place a cooling rack in a large pan or baking sheet and spray with non-stick cooking spray. Whisk together the buttermilk, salt and cayenne. Crush kettle chips and spread out on a large plate. Dip both sides of the chicken in buttermilk, then coat both sides in the crushed chips. Bake for 25-30 minutes, until cooked through. Serve with dipping sauce.


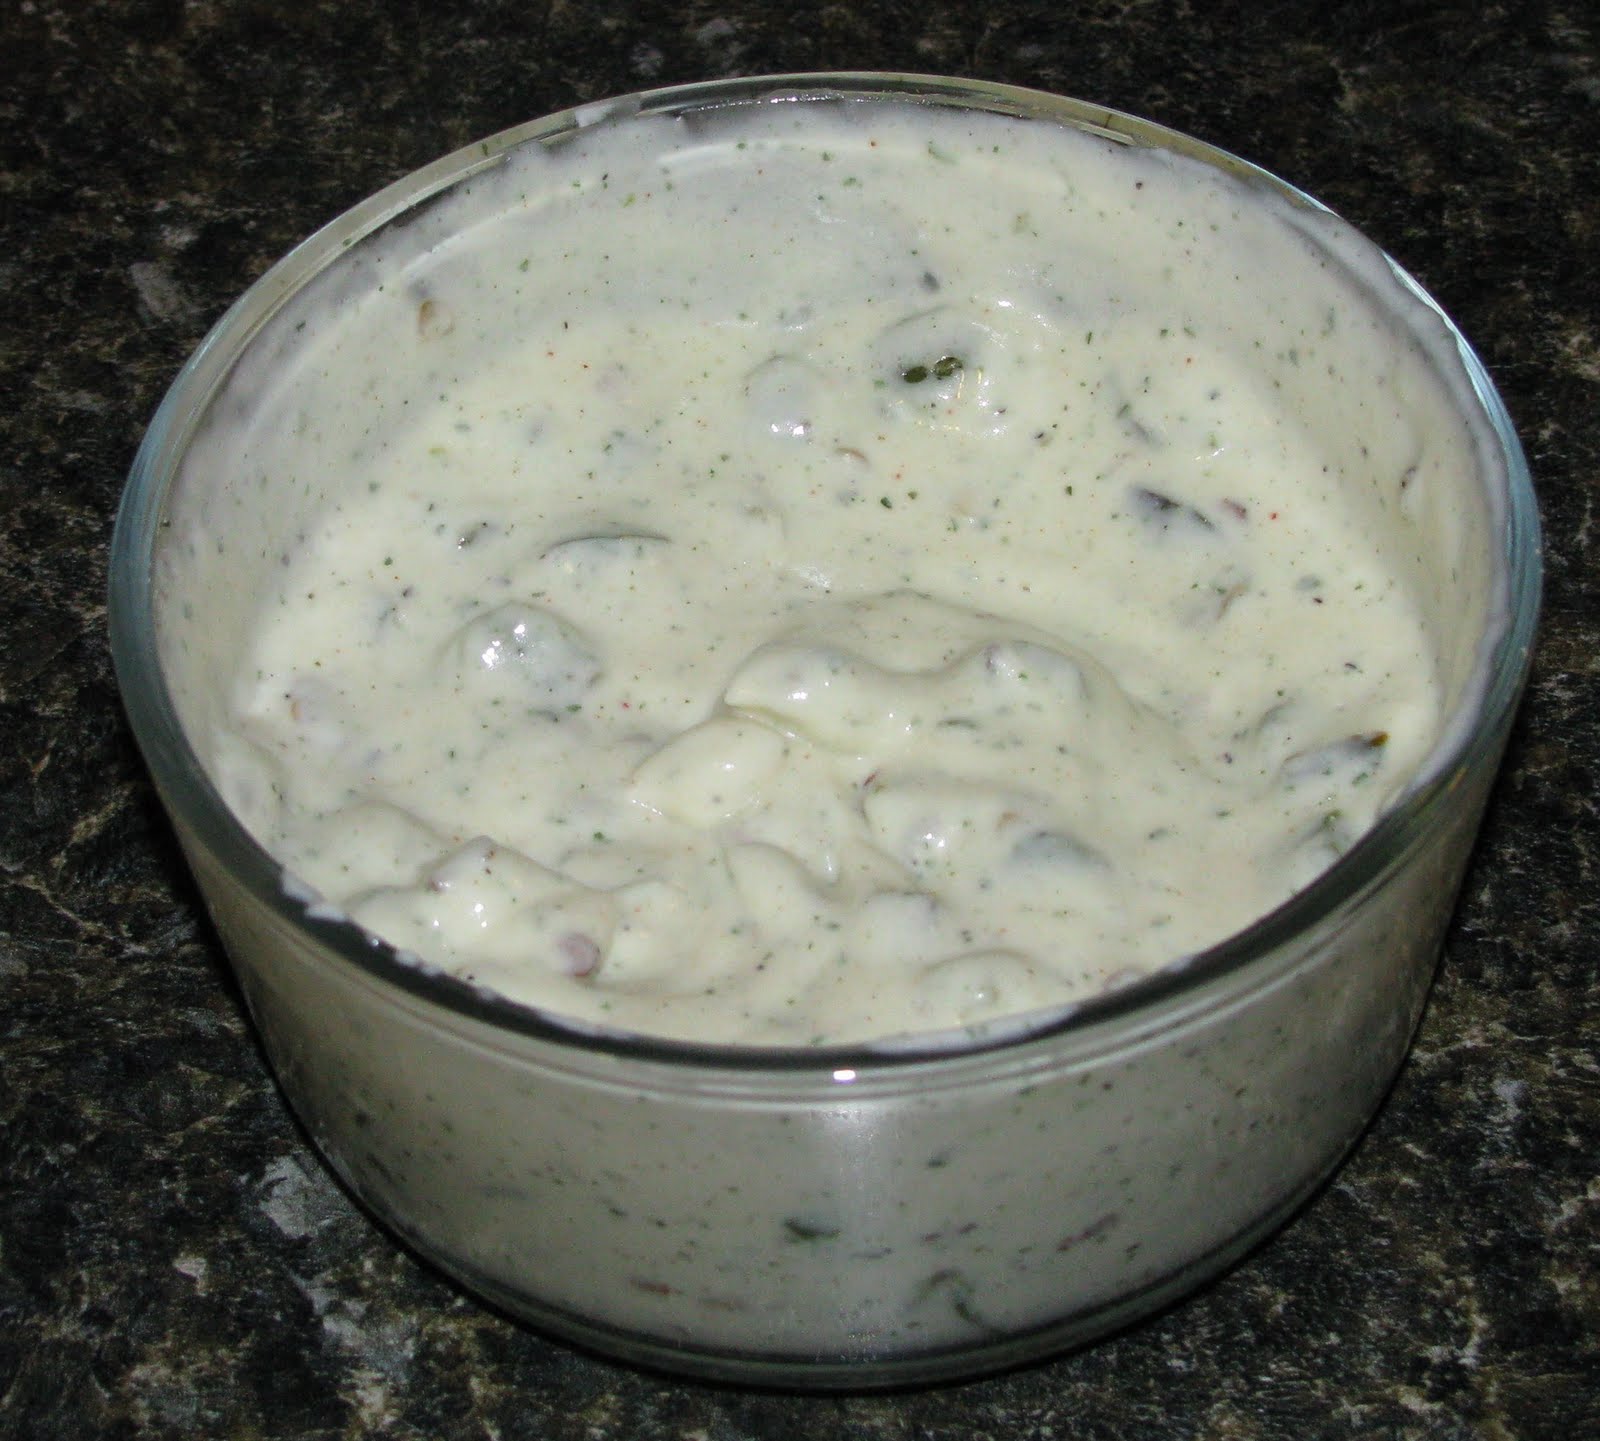
Jalapeno Ranch Dipping Sauce:
1/4 cup mayo
1/4 cup low fat sour cream
1/4 cup (plus 2 tablespoons) low fat buttermilk
1 tablespoon Hidden Valley Ranch Dressing (the powder)
1/2 teaspoon salt
1/2 teaspoon garlic powder
dash of cayenne
1-2 jalapenos, diced and sautéed

Dice jalapenos. Remove seeds if you prefer a milder flavor. Heat 1-2 teaspoons of olive oil in a skillet and sauté the jalapenos until soft. While jalapenos are sautéing, mix the other ingredients in a small bowl. Add jalapenos and mix.


I have to admit that these turned out surprisingly well for such a simple recipe. My husband loved them and kept remarking on how good they were. While I’m not a huge fan of jalapeno chips, I could see these being good with BBQ kettle chips. We might have to try that next time.


Note: Although we used Kettle brand jalapeno chips on most of the chicken, we tried a couple of the pieces with some Krunchers brand jalapeno kettle chips that my husband had been keeping around for snacking. Although he declared that the chicken with the Krunchers tasted very good, that brand left a slight green tint to the chicken. The Kettle brand did not, so I would advise using that brand if you plan to make these.

Sunday, July 17, 2011

Watermelon, Mozzarella & Cucumber Salad


Sometimes it is just too hot outside to want to cook. On those days, all you want is that perfect, cool summer lunch. Lately I have been seeing a lot of veggie and mozzarella salads. I had even noticed some using different types of fruit. One blog post that caught my eye had even mixed squares of watermelon and feta cheese in a balsamic dressing.

My salad was composed of watermelon, mozzarella and cucumber squares with fresh apple- scented mint and basil. I drizzled it with a mixture of olive oil and balsamic vinegar and finished it off by sprinkling a little sea salt over the top.


This salad is fantastic for summer because it involves all cold ingredients and minimal effort. Not only do the flavors blend together so well, but the ingredients give it a bright color. I also love the idea of everything being cut into blocks. It gives it an unusual but clean, sharp look.

Don’t worry if you end up buying more mozzarella than you need. You can always use the leftover later to try and replicate Pioneer Woman’s caprese salad.

Tuesday, June 14, 2011

Cheddar & Onion Smashed Burgers with Cilantro-Lime Corn on the Cob


I recently found a blog called The Bitten Word. The owners started it for the purpose of actually using their food magazine subscriptions by setting goals of making a certain amount of recipes out of food magazines each month. I particularly like this idea because I am horrible about bookmarking pages in my food magazines and forgetting about them. While food gawker and food blogs are so easy and accessible for finding recipes, I’ve decided I also need to find some time for my magazine subscriptions.

One of the recipes included in the June 2011 issue of Food & Wine was Cheddar-and-Onion Smashed Burgers. The recipe was really simple, but looked great for an easy summer weekend meal. The burgers were actually supposed to be cooked on a griddle, but we used the grill since we wanted to take advantage of the weather before it got too hot.

To assemble the burgers, I sliced onions into paper thin strips and patted them onto the tops and bottoms of some hamburger patties. When the burgers were close to finished on the grill, I put some thick slices of cheddar cheese on top. We also grilled the buns for a couple minutes to get them nice and crisp.


For a side dish, we placed some ears of corn on the grill. I took a spoonful of margarine and mixed it with lime and cilantro, then brushed the corn with this mixture as soon as it came off the grill.

I made another side a few days later that would have gone great with this also. I had some butternut squash that needed to be used, so I cut it into small squares. Some extra virgin olive oil was drizzled on the squash and then sprinkled with a little salt and pepper before roasting it at 400. I allowed it to cook for about 30 minutes before brushing a mixture of honey, lime and cilantro on it and letting it roast for another 10 minutes. My kitchen smelled amazing. The idea for this side came from this recipe.

Sunday, May 22, 2011

The One Good Thing About Summer

Those of you who know me know that I hate summer. I hate the heat, the humidity, the high electric bills, the bugs and the road construction. Did I mention the horrible, horrible heat? The only thing I do like about the warmer weather is the fresh produce that becomes available. I will go get a bunch of fresh vegetables and roast a huge batch so we have them on hand for meals. For this batch, I used yellow squash, butternut squash, red onion, garlic and zucchini. In the past, I've added eggplant, asparagus, bell peppers, mushrooms, potatoes or yams. This is the type of recipe where you can use whatever you want.

The steps are simple. First, preheat your oven to 400. Line a baking sheet with foil. Chop up your choice of veggies and spread them in a layer on the baking sheet.


Drizzle with extra virgin olive oil. Sprinkle with sea salt and cracked pepper. Now, use your hands to mix the batch and coat all the veggie slices. Spread the batch flat on the baking sheet again and bake for about 45 minutes.


Tuesday, April 26, 2011

Asparagus Roll Ups with Ham & Cheddar

I had been searching recipe sites lately looking for something perfect for Easter.  Once I saw these roll ups from The Fresh Fridge, I knew they’d be perfect.  It’s impossible to resist the fresh green of the asparagus, the golden brown of the crescent rolls, and the sweetness of brown sugar ham.  I’ve previously expressed my appreciation for food that looks as good as it tastes.  These roll ups definitely fit that description.  Just when you thought it couldn’t get any better, they are also really simple to make. 
The first step is to take a package of crescent rolls and spread it out flat on a cookie sheet.  Spread some dijon mustard (or honey mustard, which I'll try next time) over the surface area.  Next, sprinkle on some of your favorite shredded cheese.  Adding cheese was the only change I made to the recipe. I used some shredded extra sharp white cheddar cheese.  I love the way it goes with brown sugar ham, but I’m sure that parmesan, swiss, or whatever cheese you have on hand would also work well.  When I told my sister I was adding cheese, she replied, “why not? Cheese makes everything better.”  Yep, we’re definitely related. 

Next, wrap a slice of ham around a stalk of steamed asparagus.
Place the ham & asparagus bundle on the large end of one of the crescent roll triangles. 

Leave the tip of the stalk sticking out of the top.  You may have to trim the bottom of the asparagus bundle to fit.  Roll up the crescent rolls. 


Bake as directed on the crescent roll package, or until golden brown. 


Aren't they pretty neat looking for something so simple?  These are sure to be a crowd pleaser. 


Saturday, March 5, 2011

Chipotle Chicken Pasta

There was a situation on this blog that had to be remedied.  So far I have only had one pasta post, which could probably be considered a horrifying breach of cooking blog etiquette. 

I have always adored pasta.  In fact, the one Reading Rainbow episode I can recall from childhood was the one where they visited the pasta factory.  I was probably about five or six years old, but I vividly remember being in awe as I watched the tortellini making process.  I guess that was either an example of my love for pasta, or perhaps just an early indication of my future cooking obsession.   (Yes, I did check YouTube for that Reading Rainbow clip, which sadly was nowhere to be found.) The recipe I made for this post uses farfalle (bowtie) pasta, which alone is enough reason to make me want to try the dish.  I remember growing up in a house where my mother kept an extensive collection of pasta.   Even as an adult, I still think it’s pretty awesome that pasta comes in cool shapes like bowties, shells, or wagon wheels.  

I actually didn’t start my recipe search looking specifically for pasta.  I was really looking for something to use the rest of my chipotles with.  The problem with constantly trying new recipes is that I am also constantly buying different ingredients.  Sometimes it can be hard to find things to use these ingredients in again, but I’ve been making an attempt to better utilize all the items currently overflowing my cabinets. As for my leftover chipotles, I was lucky enough to run across Homemade By Holman’s Chipotle Chicken Pasta. 

Chipotle Chicken Pasta
1/2 lb farfalle (bowtie) pasta
12 oz of chicken breasts, cooked and shredded
1/8 cup lime juice
2 cloves minced garlic
1/4 cup chopped cilantro
1/2 tsp ancho chili powder
1/2 tsp salt
1 tbsp olive oil
1 large red bell pepper, diced
½ red onion, diced
3 minced chipotle pepper, canned in adobo sauce
1/4 cup chicken stock
1/3 cup heavy cream
1/3 cup Parmesan cheese
Marinate chicken in lime juice, 1 clove minced garlic, chili powder, salt, and half the cilantro.  Cook pasta according to directions.  In the meantime, heat olive oil in 12 inch skillet.  Cook the chicken, red bell pepper, onion and 1 clove minced garlic for about five minutes. 

Add the chicken stock and chipotles and cook for 1-2 minutes.  Add the cooked pasta.  Turn the heat to low and add the cream and parmesan, stirring to coat.  Continue to cook for a couple minutes to allow the sauce to thicken a little.  Remove from heat and sprinkle with the remaining cilantro.
 

You’ll notice that I tweaked the recipe a bit to my liking.  First off, I tend to like shredded chicken in dishes more than I do chunks of chicken.  Because of this, I used pre-cooked shredded chicken. I still let my chicken sit in the lime liquid mixture for a few minutes.  I also went with all red bell pepper.  The biggest change I made was to use more chipotle than the original recipe called for.  I found the three chipotles to be the perfect amount.  They added just the right amount of smoky heat to the pasta, but didn’t have so much heat that my mouth was left burning.  There was far more flavor than heat.  Finally, I made up a little bit more sauce.
If I tried this again, I’d try using fat free half and half instead of the cream.  I’ve found that fat free half and half makes for a good substitute for cream in some pasta dishes.  It probably wouldn’t work as well in a cream heavy alfredo type sauce, but I have a feeling it might work fine for this type of lighter sauce.

My husband and I were both thrilled with this recipe. Not only did the flavors combine wonderfully, but it was simple and quick to make.  I have plans to mess with the recipe a little more.  I think I might have to try a future version with white cheddar and a little more chipotle.  It would also be pretty good with peas added in.   Suddenly I am also envisioning a chipotle cream sauce on linguine with red and yellow pepper strips and scallops.  Needless to say, I’m sure this recipe will provide a good base for lots of different variations. 

Thursday, February 24, 2011

Gingered Stir-Fry with Shrimp & Snow Peas

I apologize ahead of time for the lack of substance in this post.  This is more of a quick review of a recipe.  I promise something better next time. 

My newest issue of Food & Wine arrived the other day.  This included a fairly simple looking recipe for Gingered Stir-Fry with Shrimp and Snow Peas.  I like to cook anything with snow peas.  Not only are they delicious and crisp, but they add so much color to any dish. I was a little concerned about the sauce in this recipe, which was a mixture of chicken stock, chile garlic sauce, and soy sauce.   I usually prefer a thicker sauce on stir-fry.


The ginger had a fantastic smell while cooking, but was unfortunately pretty overwhelming as far as taste.  If I made this recipe again, I would cut back on the ginger. The sauce turned out to have a decent flavor, but was a little too watery.  It could possibly help to cut back on the chicken stock and use a little more soy sauce in its place. 

I suppose this wasn’t bad for a quick dinner.  If I made it again, I’d probably mess with the recipe quite a bit.  My husband enjoyed it more than I did, but even he admitted the ginger was too strong. 

Monday, February 21, 2011

Lasagna Roll-Ups

I decided to make something pretty simple and quick tonight.  I hadn’t made lasagna roll-ups in awhile, so I decided it sounded like a good Monday night dinner. I’m sure there are plenty of lasagna roll-up recipes out there, but I don’t really follow a set recipe. I’ve made enough lasagna and manicotti before to have a pretty good handle on what goes into the filling.  Here’s what I ended up with: 

Cook 10 lasagna noodles according to package.  In the meantime, mix the following:

15 oz container of low fat ricotta
1 cup shredded mozzarella (part skim)
1 cup shredded parmesan
3 cloves minced garlic
1 egg
salt & pepper to taste

When the noodles are finished, spread them out on a piece of foil.  Place some spoonfuls of the ricotta mixture on the noodles and spread down each noodle.  It doesn’t have to be precise, as evidenced by the picture below:
Coat the bottom of an 8x8 pan with a little of your favorite spaghetti sauce.  Starting at the end of the noodle, roll each noodle up. 

Arrange in the pan.  Cover with the spaghetti sauce.  Cover the pan with foil and bake at 375 for 30 minutes.  At the end of the 30 minutes, remove foil.  Sprinkle some mozzarella on top and back for another 5-10 minutes. 

If you are cooking for someone who seems to think every meal should contain meat (like my husband), you can sprinkle some cooked ground hamburger or sausage on the noodles before rolling them up.  I cooked about half the roll-ups tonight with a little bit of hamburger. 

You may notice that I used low fat mozzarella and ricotta.  I’ve started a habit of doing this with any recipe that calls for the two.   Maybe I’m just used to it, but I don’t think it sacrifices quality.  It also makes the dish a little healthier.  (For those of you keeping track, the purchase of mozzarella for this recipe brings the total number of cheese types in my fridge up to 18.)

My secret ingredient this time was the spaghetti sauce.  I used some Garozzo’s Sugo sauce.  If any of you are ever in the Kansas City area, you have to stop and eat at Garozzo’s.  I was more than pleased to find out that they bottle and sell their signature Sugo sauce. 

We decided to pair our lasagna roll-ups with a starter salad of baby greens, blue cheese crumbles, and balsamic vinaigrette. 

We weren’t the only ones who enjoyed supper.  My “helpers” are always excited when I cook something involving shredded cheese.  I’m a pretty messy cook, so there’s about a 90% chance some of the shredded cheese will end up raining down on them.  They spend a good part of the prep time at my feet, staring up at me and licking their chops. 

I have to admit they’re pretty handy with the clean up.