Sunday, November 20, 2011
Jalapeno Kettle Chip Crusted Chicken
The recipe I tried today was made for my husband. When I saw the recipe for jalapeno kettle chip crusted chicken, I knew he’d love it. I, however, was skeptical.
This will also be known as the recipe where I try to overcome just a little of my food snobbery. Like myself, I would consider my husband to be a foodie. He loves trying new recipes and enjoys quality meals. The difference between us is that I tend to venture straight past foodie into full blown food snob, whereas he is not near as picky and is willing to eat things I wouldn’t even consider real food. For instance, we have a difference of opinion over the frozen corn dogs he keeps in the freezer. While he claims that baking them instead of microwaving them improves the quality, I suggest that by eating a corndog, you’ve pretty much given up on the idea of any quality. (Yes, I am shuddering a little at admitting to you that there is a box of corndogs in my freezer. I would like to state for the record that I never eat them.) In my opinion, the type of foods that can be commonly found at a county fair or a convenience store should be avoided at all costs.
In my defense, you have to understand that I was raised by people who knew how to really cook. I was probably more spoiled on home cooked food than some people. I had no clue that instant mashed potatoes existed until I was probably about twelve. (To this day, I am still not sure why they exist.) My younger sister came home from daycare one day claiming her lunch was “a sandwich with mayo and little round things like meat.” We found out later she was referring to bologna. So, while I am responsible for turning myself into a food snob, I also blame my parents. (This claim works not only as an explanation, but also a test of whether my mother reads my blog.)
All of this is a long set up to the recipe I planned to make today, which involves breading chicken in jalapeno kettle chips. While my food snobbery makes me typically consider a dish made with potato chips to be a pretty lowbrow form of cooking, I decided this didn’t look too bad. The fact that my husband’s eyes lit up upon seeing the recipe further reassured me that I should go ahead and try this.
Jalapeno Kettle Chip Crusted Chicken
Adapted from My Life as a Mrs.
For the Chicken:
chicken tenderloins (approx 1.5 lbs)
1 bag Jalapeno Kettle Chips, crushed
1 cup low fat buttermilk
1 teaspoon salt
dash cayenne
Preheat oven to 375 degrees. Place a cooling rack in a large pan or baking sheet and spray with non-stick cooking spray. Whisk together the buttermilk, salt and cayenne. Crush kettle chips and spread out on a large plate. Dip both sides of the chicken in buttermilk, then coat both sides in the crushed chips. Bake for 25-30 minutes, until cooked through. Serve with dipping sauce.
Jalapeno Ranch Dipping Sauce:
1/4 cup mayo
1/4 cup low fat sour cream
1/4 cup (plus 2 tablespoons) low fat buttermilk
1 tablespoon Hidden Valley Ranch Dressing (the powder)
1/2 teaspoon salt
1/2 teaspoon garlic powder
dash of cayenne
1-2 jalapenos, diced and sautéed
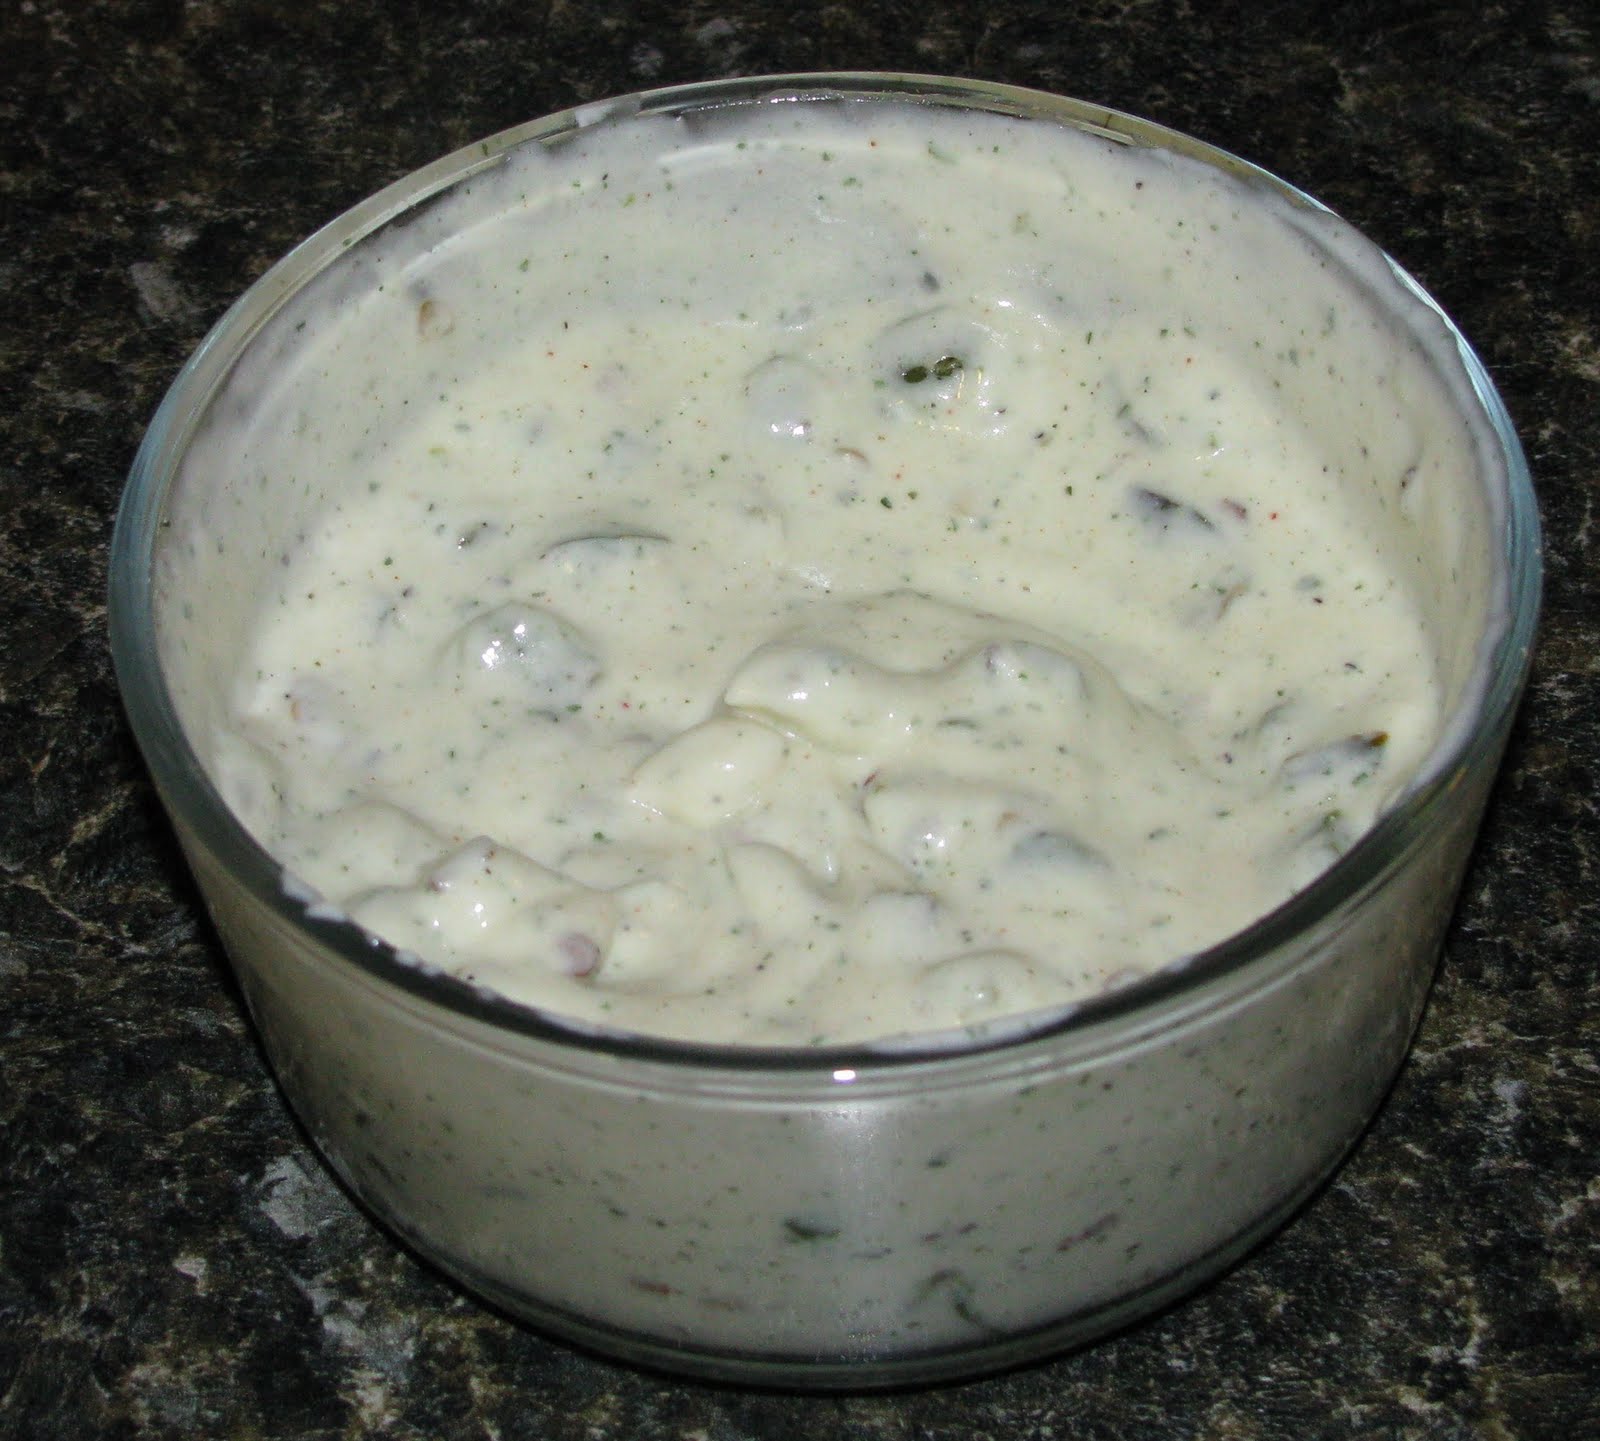
Dice jalapenos. Remove seeds if you prefer a milder flavor. Heat 1-2 teaspoons of olive oil in a skillet and sauté the jalapenos until soft. While jalapenos are sautéing, mix the other ingredients in a small bowl. Add jalapenos and mix.
I have to admit that these turned out surprisingly well for such a simple recipe. My husband loved them and kept remarking on how good they were. While I’m not a huge fan of jalapeno chips, I could see these being good with BBQ kettle chips. We might have to try that next time.
Note: Although we used Kettle brand jalapeno chips on most of the chicken, we tried a couple of the pieces with some Krunchers brand jalapeno kettle chips that my husband had been keeping around for snacking. Although he declared that the chicken with the Krunchers tasted very good, that brand left a slight green tint to the chicken. The Kettle brand did not, so I would advise using that brand if you plan to make these.
Saturday, October 29, 2011
Meringue Ghosts
Baking will be my contribution to Halloween. I like Halloween in the sense that I love the crisp fall weather that surrounds it. I'll take any excuse to enjoy some scary movies or books, and I look forward to Halloween episodes of my favorite shows. However, it's the decorating part of the holiday where I start to lose interest. There seems to be no way I can motivate myself to put decorations around my house or bother to actually dress up myself.
So here's my version of Halloween decorations:
I saw these on foodgawker.com, which has become one of my favorite ways to waste time. They seemed far too cute not to try. Also, I knew they would make great cupcake toppers.
Meringue Ghosts
From Skinnytaste.com
• 4 large egg whites, room temperature
• 1/4 tsp cream of tartar
• 1 cup sugar
• ½-1 tsp pure vanilla extract
(depends on how much vanilla flavor you want)
• miniature chocolate chips for the eyes
• regular chocolate chips for the mouth
(I’ve also seen black frosting decorating gel instead
of chocolate chips.)
Preheat oven to 200. Add eggs whites to a mixing bowl. Be careful not to get ANY yoke in the whites. Beat with a whisk attachment until foamy. Add cream of tartar and beat until stiff peaks form. Add vanilla. Add sugar in slowly and continue to beat until the meringue holds really stiff peaks. This will take a few minutes.
Line a baking sheet with parchment paper. The directions I used recommended using a pastry bag fitted with a 1/2 inch plain tip, but I use a Pampered Chef decorator. I placed a little meringue on each corner of the baking sheet before I set the parchment paper down. This holds the paper down so it doesn’t slide or roll up.
Hold the pastry bag or decorator perpendicular to the baking sheet and pipe out the meringue with even pressure. This took a little practice before the ghosts began to really look ghost-like.
Bake the ghosts for 1 ½ hours or until they feel crisp on the outside and can be easily lifted off the parchment.
I applied the chocolate chips right out of the oven. Some recipes claim you can put them in before you bake. I used two mini chocolate chips for the eyes and 1 regular for the mouth.
These can be eaten by themselves or used as cupcake toppers.
Since I was focusing more on the ghosts, I did cheat and use a box cake mix. One thing I don’t believe you can take a shortcut on is frosting. I made a vanilla buttercream, which gave me a chance to try out my vanilla bean paste I recently bought. (The verdict on the vanilla paste was that it didn’t pack quite enough punch, hence the addition of vanilla extract.)
Vanilla Buttercream
• 2 tablespoons heavy cream
• 1 teaspoon vanilla bean paste
• ¼ tsp vanilla extract
• pinch of salt
• 2 1/2 sticks unsalted butter, at room temperature
• 2 1/2 cups confectioners' sugar
Mix cream, vanillas and salt together in a small bowl. Using a stand mixer with a paddle attachment, beat the butter until creamy. Slowly add the confectioners' sugar until completely combined. Add the cream mixture and beat for 3 or 4 minutes until fluffy and smooth.
I was really happy with how these ghosts turned out. I did find one other Halloween recipe I want to try, but I haven't been able to figure out how to make it. If anyone can figure out how to do this, let me know.
Sunday, October 23, 2011
Butternut Squash, Sweet Potato & Mascarpone Lasagna
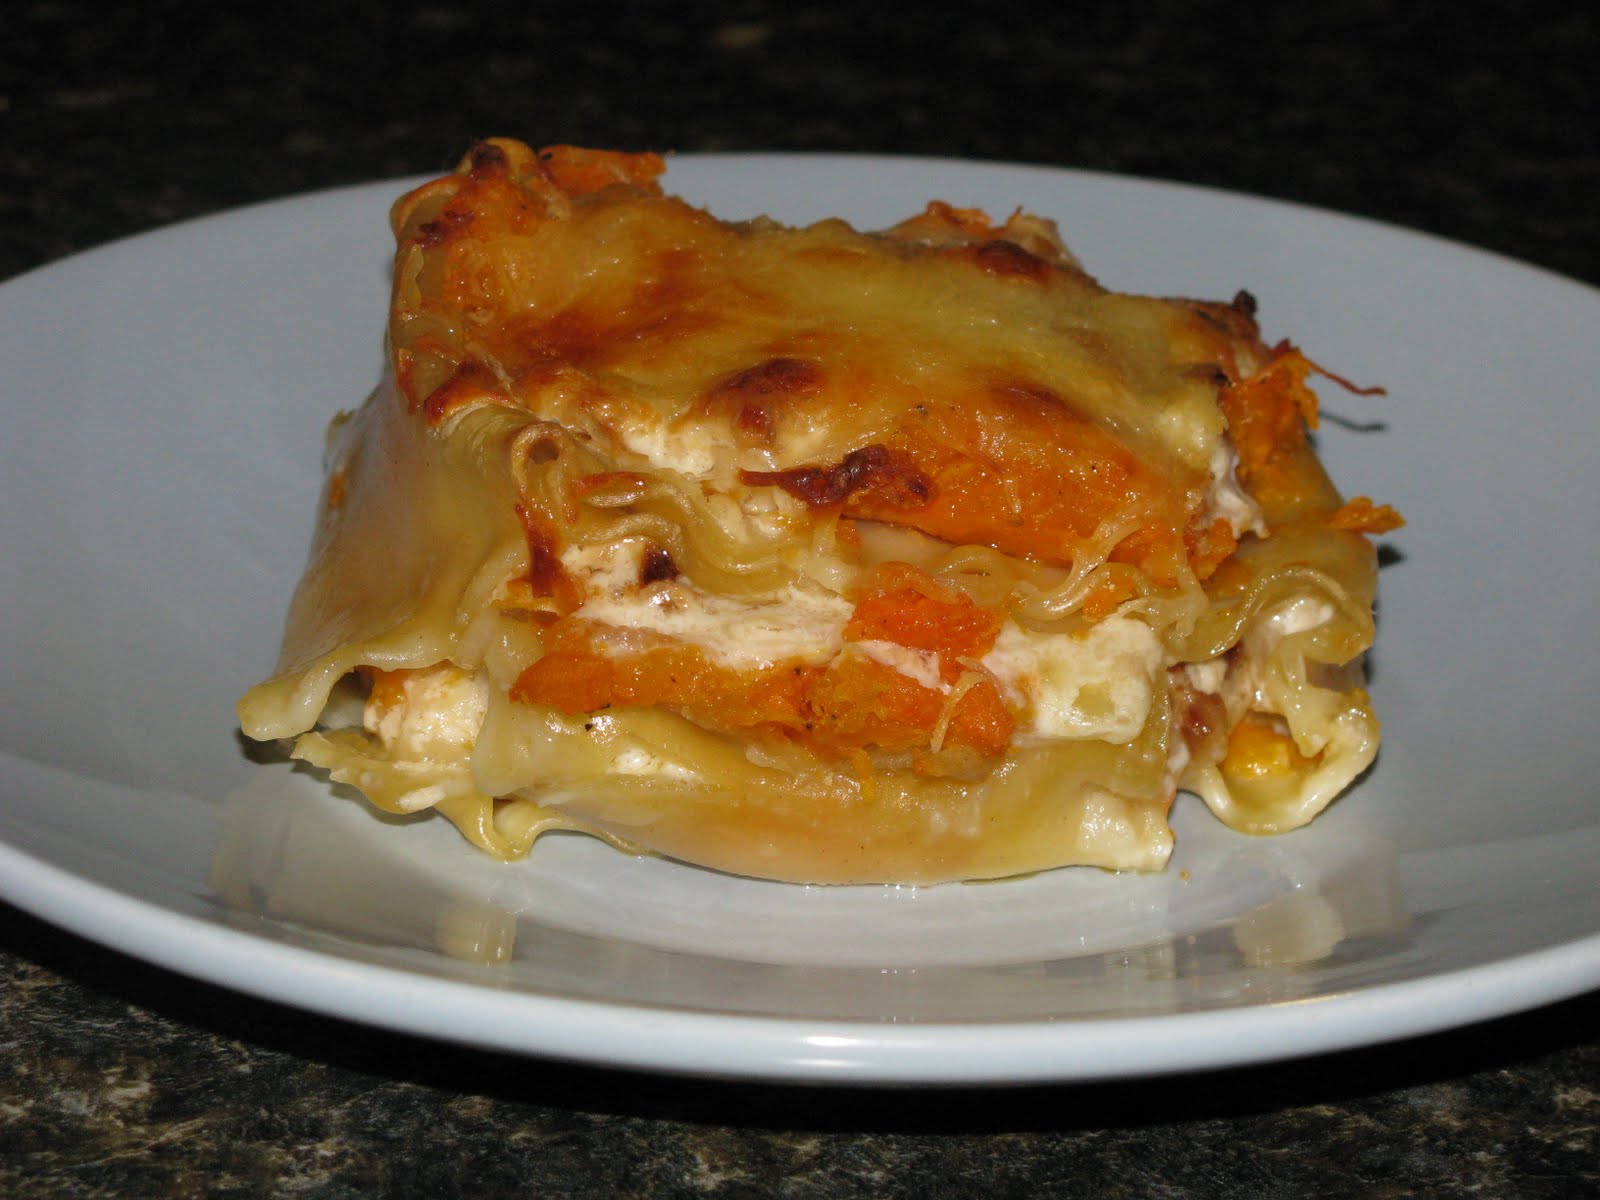
This lasagna is good. I don’t mean for that to sound generic. By saying it’s good, I mean it is really, really, really good in a “oh my gosh, how am I just now finding out about this” type of way. This has to be one of my favorite recipes I’ve tried so far. It sounded a little different, so I wasn’t sure how it would turn out. I can tell you that these flavors all melt together perfectly. This just might be one of the perfect fall foods.
I came across this idea after buying a gigantic butternut squash at the farmers’ market. I’ve always like butternut squash, but this recipe has given me a new reason to love it.
Butternut Squash, Sweet Potato & Mascarpone Lasagna
Adapted from How Sweet It Is
Makes 8x8 pan
9-12 lasagna noodle sheets
1/2 medium butternut squash, peeled and cubed
2 medium sweet potatoes, peeled and cubed
12 ounces mascarpone cheese
1-1.5 tbsp unsalted butter
1 shallot, diced (can substitute sweet onion)
2 cloves of garlic, minced
1 1/2 cups freshly grated parmesan cheese
1/2 cup freshly grated mozzarella cheese
1 teaspoon salt
1 teaspoon pepper
1/4 teaspoon nutmeg
olive oil for drizzling
The first time I made this recipe, I used two 7 oz ramekins. To do that, I made a 1/3 of the recipe. My reasoning was that my husband tends to not see lasagna without meat as being real food. I had my doubts he would help eat any, so I did not want an entire pan left over. Once I realized this lasagna was absolutely delicious, I made a full pan to take over to my in-laws, where it was well received and quickly gobbled up.
Now, here’s how to make this gorgeous, fall lasagna:
Preheat oven to 350. Peel and chop the butternut squash and sweet potatoes. Line a rimmed baking sheet with foil. Place the squash and potatoes on the foil and drizzle with olive oil. Add salt, pepper, and nutmeg. Toss so that all the pieces are coated. Bake for 50 minutes until soft.
In the meantime, cook the lasagna noodles. Once the noodles are cooked, I set them out on wax paper so they don’t stick.
Next, melt the butter in a small skillet. Add the shallots and garlic. Heat on low and cook until they start to caramelize. Combine the caramelized shallots with the mascarpone and about ¾ cup of the parmesan.
Once the squash and sweet potatoes are out of the oven, use a fork or potato masher to mash them. When I made the full batch, I threw them in my electric mixer.
I took pictures of the batch I made in ramekins, so that’s what I’ll describe here. The layers are the same for a full pan- noodle, squash mixture, mascarpone mixture, mozzarella/parmesan, noodle, etc.
For the ramekins, I began by spraying them with non-stick spray. Next, I put my noodles down by crossing them in a "T" pattern, pressing them down in the ramekin with the sides still hanging over.
Spread some of the squash and sweet potato mixture in the bottom.
Then spread some of the mascarpone mixture. Top that with some of the shredded mozzarella and parmesan.
Fold one set of the arms over the top of the cheese. Begin the process again with the squash, followed by the mascarpone and shredded cheese.
Fold the final set of arms over the top, and repeat with the squash and mascarpone. Top with the shredded cheese.
Bake for about 30-40 minutes. If using the 8x8 pan, bake for about 45 minutes.
I’m trying to figure out a version for my husband that adds meat. Bacon? Andouille sausage? I’m sure I’ll be making this enough to try all the different variations.
Just look at those beautiful fall colors. Trust me, it tastes as good as it looks. C’mon, try this recipe. You know you want to.
Tuesday, October 18, 2011
Jalapeno Popper Cornbread Muffins
This recipe came out of an attempt to spice up some cornbread, which is a food I usually don’t care much about. It also fell under the “things with jalapenos in it” food category that my husband enjoys. A couple months ago, I had made some good cornbread muffins by adding chopped corn and sautéed jalapenos to a store bought mix. Because the jalapenos were sautéed, they didn’t add too much heat. Instead they had a nice smoky flavor. It was also really nice to just add some ingredients to a box mix and come out with some great cornbread. I’d thought about adding bacon, but at the time I was cooking for a whole crowd and didn’t have enough.
This time I decided to try the jalapeno and bacon idea, along with other ingredients you typically see in jalapeno poppers. Again, I started with a box of cornbread mix. This time is was Krusteaz honey cornbread mix.
First, I chopped up and cooked three slices of bacon, reserving some of the grease for the jalapenos. I chopped up two jalapenos and sautéed those in the bacon grease until soft. I left the seeds in the jalapenos to try and reserve a bit of heat.
Next, I mixed up the cornbread according to the directions on the box. I also threw in a tbsp of brown sugar. I have no real reason for throwing in the brown sugar other than the fact I like sweet cornbread and it sounded like it would complement the jalapenos and bacon. Plus, when isn’t brown sugar a good idea? I thought maybe it would carmelized a little on the outside of the muffin.
Add the bacon and sautéed jalapenos to the bowl of cornbread muffin mix.
Now add about a 1/3 cup of shredded cheddar cheese. (I found the cheese flavor didn’t pop as much as I thought it might. If you prefer these super cheesy, add more.)
Mix all this up with the cornbread batter. You can see all the yummy stuff that's been added.
Pour into 24 mini muffin cups. I had a little extra batter left after my first batch of 24. Bake according to the package or until golden brown.
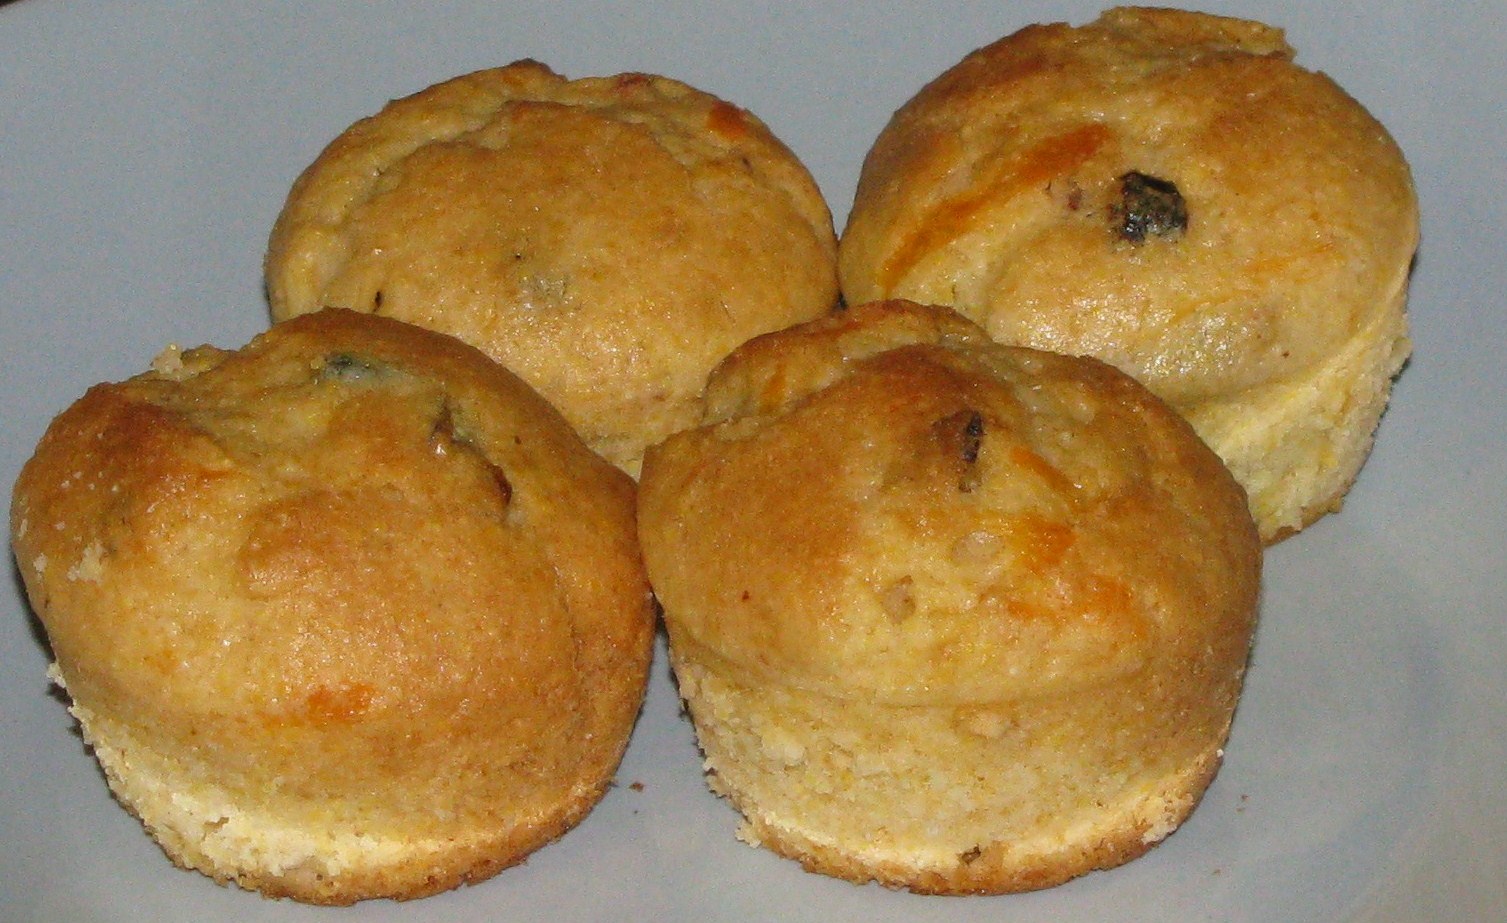
Here's a muffin that was impatiently removed. It gives a good view of all the ingredients.
For the full jalapeno popper experience, spread with cream cheese. Like most of the jalapeno based food I make, these went over well with my husband. I think he may have eaten about half the pan for dinner.
Friday, October 7, 2011
Gorgonzola, Apple & Bacon Stuffed Pork Loin
After a month long hiatus, I’m back to posting on the blog. I’ve had the material for this post for awhile now, but never got around to it. I think some of my hesitation with this post is that it’s near impossible to make pictures of raw meat look tasty. However, I promise you that the finished product is worth looking through a few pictures of uncooked meat.
My husband and I have a habit of making most of our big meat and potato type meals on Sundays. I think we fell into this pattern during the summer when we’d grill. Our grocery store had pork loins on sale, but I still needed to come up with a way to prepare it.
I stuffed this one with crispy bacon, gorgonzola, and sautéed onions and apples. I’m well aware that this blog probably reflects a pattern of bacon, apple and onion combinations, but it’s so good that it’s impossible to not repeat. I also used an 18 oz pork loin that was already packaged in a lemon herb marinade.
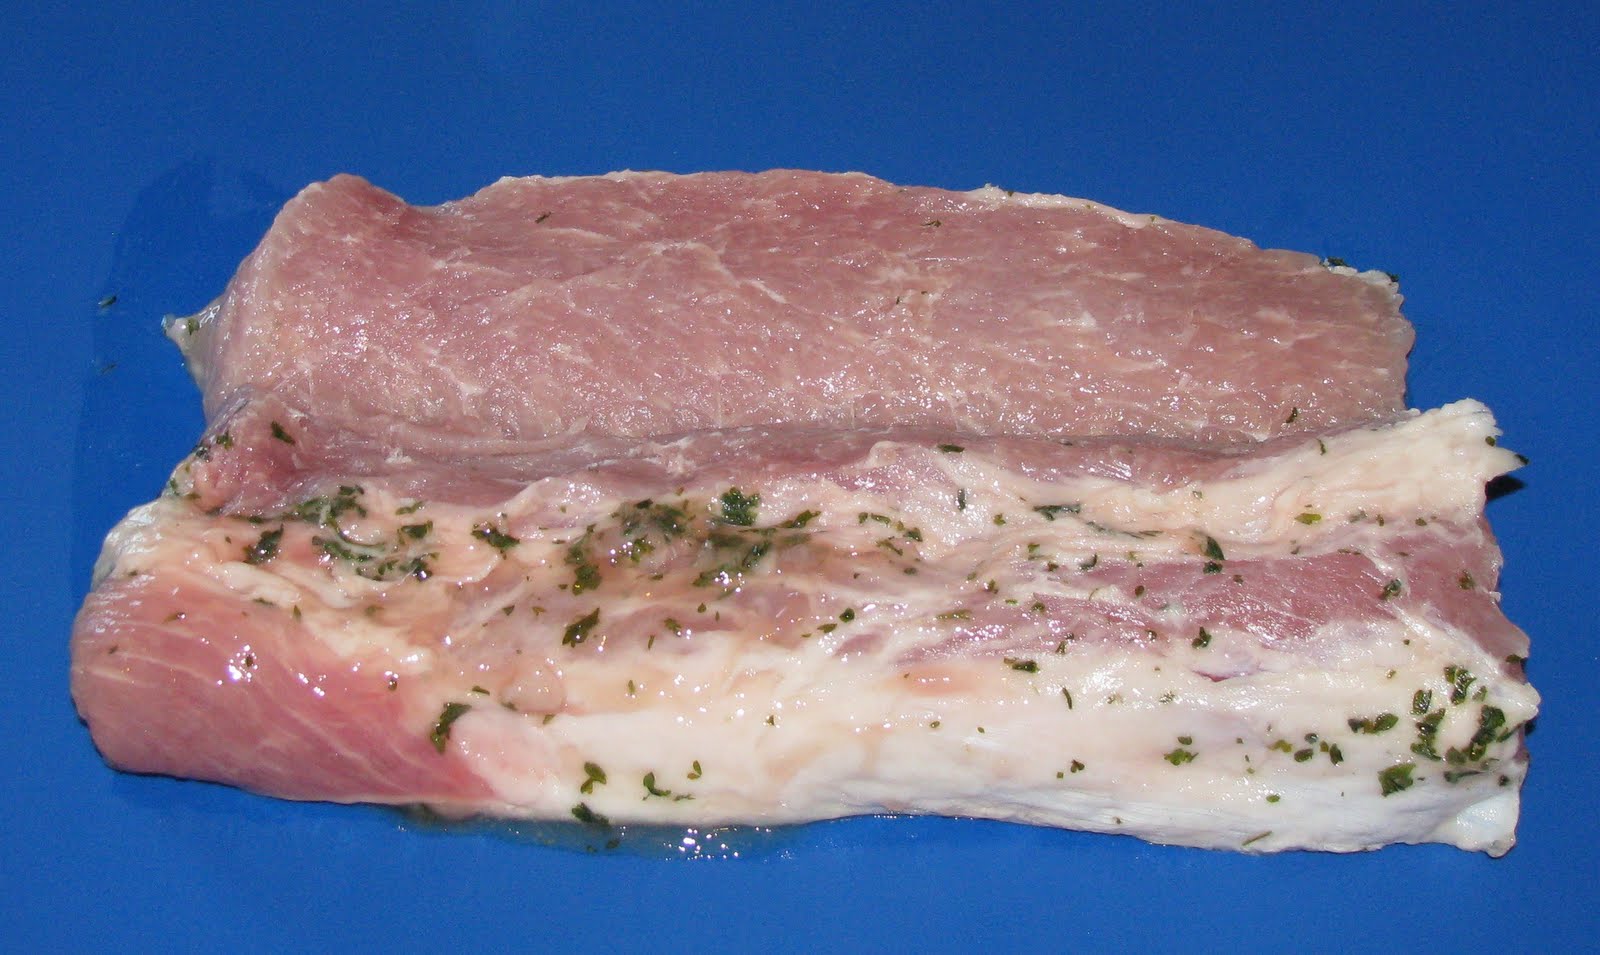
First, the pork loin had to be cut lengthwise to provide more surface area. The following is the easiest way I’ve seen it described. First, make a cut lengthwise about 1/3 of the way into the pork loin. Cut as close as you can until it’s flat against your cutting board, but be careful not to cut all the way through.
Next, you’ll notice that the 2/3 of the loin you haven’t cut into will look kind of like a wall that drops off into the flat area you have cut. Cut into the loin about half way up that wall. Again cut until it’s flat, but not all the way through.
I’ve heard the end result described as looking like an open book.
For the filling, I had cooked some chopped bacon and then sautéed some diced onions and apples in the grease, along with a little dried rosemary and thyme. I think this was about 1 apple, 1 medium onion and 3 slices of bacon.
I spread that all over the flattened pork loin, followed by a generous helping of some crumbled gorgonzola.
To wrap up the filling, I started at one end of the pork loin and rolled lengthwise. The pork loin will need to be tied with some butcher’s twine. You’ll notice mine was so stuffed that a little filling has come out the top.
Once it baked according to directions and desired temperature, I cut the twine and let the loin cool for about 5 minutes before slicing it.
This is what awaits you once you slice into it:
Look at the crispy bacon, sweet apples and onions, and gooey gorgonzola cheese. I’m already thinking about the next stuffed pork loin. How does roasted red pepper and goat cheese sound?
Monday, September 5, 2011
S'mores in a Jar
Everybody knows that s’mores are delicious. Now imagine this: you’re making a s’more, but instead of a piece of chocolate bar, there’s a molten chocolate lava cake in the center. Yep, that really just happened. This is the perfect union of s’mores and lava cake. Trust me, it’s as good as it sounds.
I absolutely love s’mores recipes. I probably save most of them that I come across. This s’mores in a jar recipe from How Sweet It Is really caught my eye. Not only was it a version of one of my favorite desserts, but I thought the mason jar idea was brilliant. In fact, I liked it so much that I had to go out and purchase mason jars just to make it.
I knew this easily portable version of s’mores would also work great for our weekend plans, which included visiting family members that were camping at the lake. (You’ll notice I said visiting other people who were camping. As much as I love s’mores, camping is not something I would choose to do voluntarily.)
I will warn you that this s’mores creation is still a bit of a work in progress. I may still try a few more variables. In my first batch I tried big marshmallows, but found they did not want to completely puff up and melt quite enough. As a kid, I seem to remember one marshmallow taking as little as 20 seconds to expand to approximately the size of the entire microwave, so I’m not sure why this wasn’t working. Anyway, I tried marshmallow crème the second batch, which had a better consistency but was way too sweet. The marshmallow topping will still require some experimentation. It may be something as simple as roasting four big marshmallows and sticking them on top before digging into all the s’mores goodness. These were also so sweet that I would consider making them in half pint jars next time.
The concept for this recipe comes from How Sweet It Is, which is one of my favorite food blogs to follow. That version uses a different recipe for the cake part. I was curious about using lava cake, since that would replicate the gooey quality of melted chocolate in s’mores. My lava cake recipe is from Taste Junction.
S’mores in a Jar:
4- 16 oz jars
Graham Cracker Bottom:
• 1 ½ cups of graham cracker crumbs
• ½ stick melted butter
• dash of salt
Put graham crackers into gallon Ziploc bag and use rolling pin to crush. Mix graham crumbs with melted butter. Spray each jar with non-stick cooking spray. Put approximately 6-7 tbsp of the graham cracker mix in the bottom of each jar. I used an ice cream scoop to press it down evenly.
Lava Cake Center:
•4 tbsp unsalted butter, room temperature
•1/3 cup granulated sugar
•3 large eggs
•1/3 cup all-purpose flour
•1/4 teaspoon salt
•1 tsp vanilla extract
•6 ounces bittersweet chocolate, melted & cooled
Preheat oven to 400 degrees. Cream butter and sugar until fluffy. Add eggs one at a time, stirring after each addition. Stir in vanilla. Beat in flour and salt just until combined, then beat in melted chocolate just until combined. The chocolate can be melted in the microwave if you stir every 30 seconds until smooth. I used semi-sweet since that is what I had in my cabinet. I prefer this recipe with bittersweet, but semi-sweet may seem closer to the milk chocolate of traditional s’mores.
Scoop batter into the jars until they are about half full. I used a ¼ measuring cup and this turned out to be approximately ¾ cup batter for me. Place jars in a baking pan with 1 ½ cups of water in the bottom. Bake until the top of the cake is just set. I baked mine about 15 minutes, but mine was still too gooey. I’m guessing 20-25 minutes would be closer.
Once jars are out of the oven, fill in some marshmallow crème or marshmallows. Place under the broiler for about 1-2 minutes until top starts to brown. For my second attempt, we used marshmallow crème, but placed a couple marshmallows on top just for the appearance.
My biggest concern about this recipe was baking in the glass jars. The last thing I needed was a shattered glass mess in my oven. The first time I tried these, I used a recipe that called for 350 degrees. That worked fine, but then I was still a little hesitant about the lava cake recipe that baked at 400. After doing a little research online, it appeared that lots of people have recipes for cakes or pies in jars.
The Helpers were in curious mode the day I made these. Helper #1 impatiently waited for me to move the jars out of their box so she could commandeer it.
Helper #2 impatiently waited for someone to drop some buttery smelling crumbs within her reach.
Stayed tuned for more versions of this recipe. My husband has suggested a version where the layers are alternated more frequently. For example, there'd be small layers of graham cracker, chocolate cake, mini marshmallows, graham cracker, cake, marshmallows, etc. If any of you have some suggestions, I'd love to hear them!
Subscribe to:
Posts (Atom)